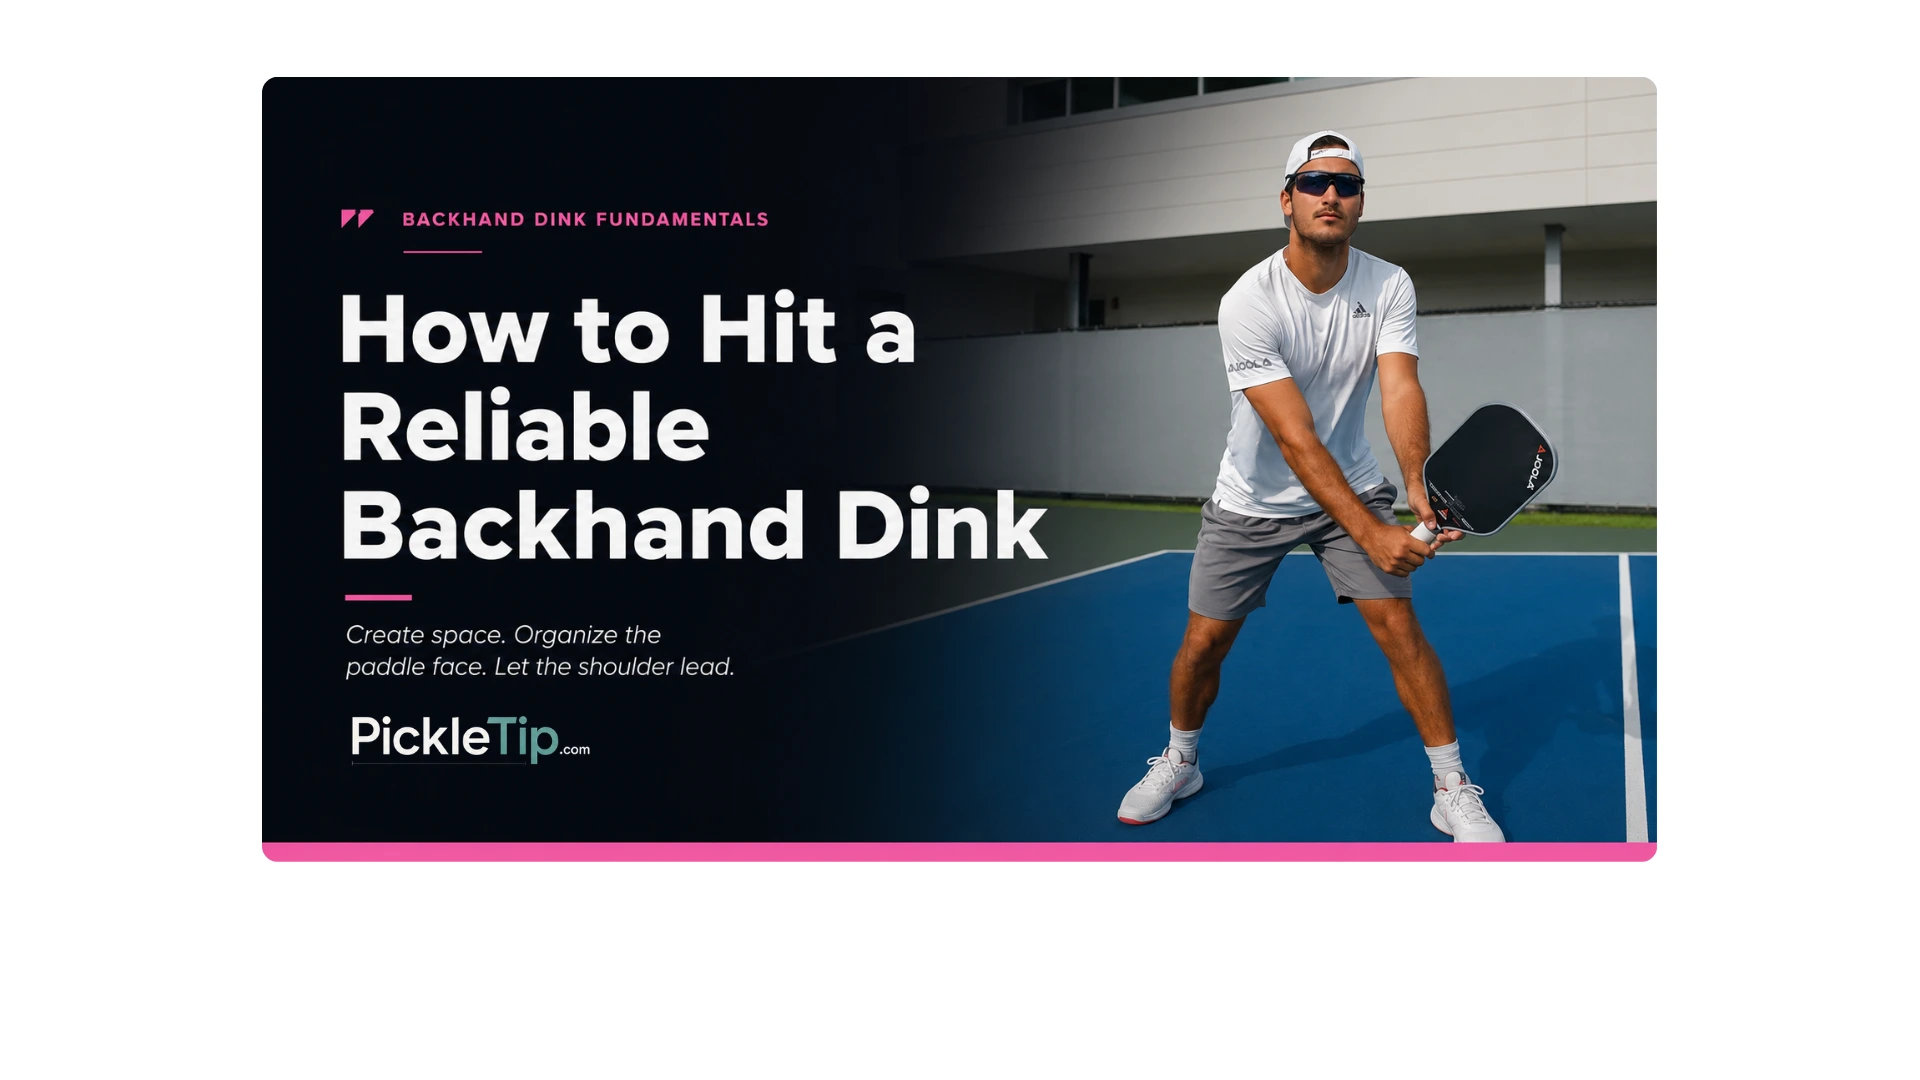
How to Hit a Reliable Backhand Dink in Pickleball
I still remember a Tuesday night open play where three different players tried to hide their backhand dink by running around it. Every rally ended the same way: a soft ball to the backhand, a popup, then a putaway. You could see the panic arrive a beat before contact. Feet got sticky, hands got noisy, and the ball told the truth. Between games, one player shook his head and said, “I just don’t trust that shot.”
That sentence tells me more than a swing video. The ordinary backhand dink should not feel like an emergency. When you arrive on time, stay balanced, and create space in front of the body, the shot should feel calm enough that the hand does not need to rescue it.
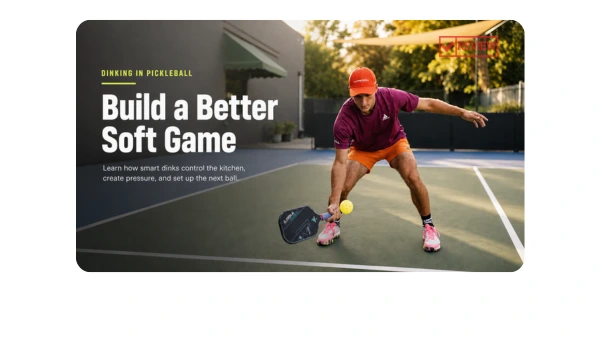
This is the ordinary backhand dink, the one you should be able to trust when the ball arrives in a comfortable window. For general dink mechanics, use How to Dink in Pickleball. For targets and rally patterns, use Pickleball Dinking Strategy. If the ball is pulling you outside your normal frame, use Backhand Dinks on the Stretch.
Quick Answer
A reliable backhand dink starts before the swing: read the ball, make room, and set the paddle face for the contact you are actually getting. Let the shoulder lead a compact forward-and-gently-upward path, keep the wrist stable without locking it, and allow the elbow to adjust naturally. Use enough net margin for the ball you received, then recover the paddle in front of the torso so you are ready for the next contact.
Organize, Do Not Rescue
The backhand dink usually breaks down before the paddle touches the ball. The read is late, the feet fail to create space, the face is still changing, or the swing becomes too large. Once the contact is crowded, the hand starts improvising.
- Read the ball early.
- Create space with the feet.
- Organize the face before contact.
- Use a compact swing.
- Finish balanced and recover.
What Is a Backhand Dink in Pickleball?
A backhand dink is a soft control shot played from the kitchen line on the backhand side. The ball travels with enough arc to clear the net safely, descends into the opponent’s kitchen, and stays below a comfortable attack height.
The goal is not to shave the net tape or manufacture heavy spin. The goal is to produce a repeatable trajectory from ordinary, balanced spacing.
Coach Sid cue: A dependable backhand dink should feel organized before the swing begins. If the hand is inventing the shot during contact, something earlier in the sequence probably failed.
Which Backhand Dink Are You Trying to Hit?
| Your Situation | Best Guide |
|---|---|
| Normal, balanced backhand dink | This page |
| Ball pulls you outside your frame | Backhand Dinks on the Stretch |
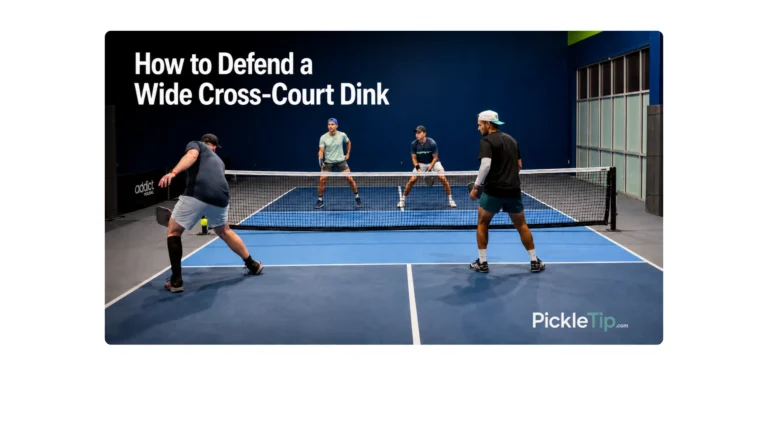
| Wide cross-court angle creates a defensive problem | Defending a Wide Cross-Court Dink |
| You want a simplified shoulder-led cue | Pendulum Dinking |
| The ball sits high enough to attack | Backhand Flick or Backhand Roll |
| You need the full backhand learning path | PickleTip Backhand Guide |
One-Handed vs. Two-Handed Backhand Dinks
Both versions can work. Use whichever one gives you clean contact and lets you recover. Just do not use a second hand to cover up late feet or crowded spacing.
| One-Handed Backhand Dink | Two-Handed Backhand Dink |
|---|---|
| Offers more reach | Can add support and face stability |
| Makes it easier to handle balls farther from the torso | May feel secure on lower or more active contacts |
| Requires good control of spacing and paddle orientation | May reduce reach and require earlier positioning |
| Transitions naturally into many neutral backhand contacts | Can connect well to two-handed rolls for players who already use them |
| Can become wristy when the ball moves | Can tempt a player to use strength instead of better spacing |
The answer changes with the player. Reach, grip, body shape, and old tennis habits all show up here. A second hand can support the paddle, but it cannot repair a ball contacted beside the hip. Build the contact window first. Choose the hand structure second.
Many of my students ask which is better: a one-handed dink or a two-handed backhand dink. From what I have seen in lessons and clinics, the answer depends on the player. Two hands often give a player more support and face stability. One hand usually preserves more reach, and some players appear to guide the ball more naturally when the second hand is not crowding the contact. The important test is whether that advantage survives movement, not which version feels better on an easy feed.
Win the Contact Before the Bounce
Do not wait for the bounce to tell you what to do. Start reading the ball while it is still crossing the net. Keep the paddle in front of the torso, the hands relaxed, and the body balanced enough to move in either direction.
- See the ball early: read height, width, pace, and likely bounce.
- Prepare compactly: place the paddle near the expected contact rather than taking it behind the body.
- Keep the hands available: leave the paddle high enough to respond instead of dropping it before the ball requires it.
- Move before swinging: use small adjustment steps so the contact stays in front.
- Stay ready to recover: keep the shoulders quiet enough that you can handle the next ball.
If preparation begins after the ball has crowded the body, the stroke is already trying to catch up.
Set the Paddle Face Before the Ball Arrives
A Continental-style grip is a common starting point because it handles routine forehand and backhand dinks without a large grip change. Some players use small personal adjustments. The important part is that the grip supports a stable face without excessive tension.
For a low neutral backhand dink, the face is often slightly open. That does not mean it should remain equally open on every ball. Contact height, incoming pace, spin, and target all affect the orientation.
Better rule: Match the paddle face to the contact. Organize it before the ball arrives, then keep it stable through the strike.
- If the ball floats: the face may be too open, the path may be lifting too much, or contact may be late.
- If the ball dies in the net: the face may be too closed, the contact may be too low, or the swing may not provide enough upward direction.
- If one ball flies and the next one dies: check whether the wrist, elbow, or paddle face is changing near contact.
For a complete grip breakdown, use How to Hold a Pickleball Paddle.
Give the Backhand Dink Some Room
Contact should happen comfortably in front, with enough room between the handle, elbow, and torso for the paddle to move freely. It may occur near the outside foot for some players, but that is a reference, not a universal measurement.
| Contact Location | What It Does |
|---|---|
| Comfortably in front | Supports a compact path and predictable face |
| Beside the hip | Crowds the handle and encourages a jab |
| Behind the body | Forces a rescue swing and reduces target options |
| Too far away | Creates reaching and loss of balance |
| Too close to the torso | Pins the elbow and changes paddle geometry |
What a Rescue Dink Looks Like
A rescue dink usually gives itself away before the miss. The feet stop, the ball drifts beside the body, and the paddle suddenly has to create height, direction, and touch all at once. That is when the hand gets noisy. The player may blame touch, but the real problem started when the feet failed to protect the contact window.
That was the pattern I kept seeing Tuesday night. By the time the paddle reached the ball, the contact was already crowded and the hand was trying to save it. The backhand dink did not require some magical feel they lacked. The problem had started earlier.
Feet first: On a routine ball, check spacing first, then paddle-face stability, then swing size. Touch is rarely the first place I look. Move enough that the hand no longer has to invent the shot from a crowded position.
Let the Shoulder Lead Without Freezing the Arm
The backhand dink should feel connected, not rigid. The shoulder carries the hand through a compact path. The elbow adjusts enough to preserve spacing. The wrist stays quiet enough that the paddle face does not make a surprise change at contact.
- Shoulder: lead the motion without rotating the paddle across the body.
- Elbow: allow natural adjustment, but avoid a late poke, chop, or independent burst of speed.
- Wrist and grip: support the face without squeezing so hard that touch and absorption disappear.
The arm can move naturally. You are only trying to keep the wrist or elbow from changing the shot at the last second. Stable does not mean frozen.
If a simple shoulder-led cue helps you remove unnecessary motion, compare this technique with Pendulum Dinking.
Use a Small Swing and Enough Net Margin
Prepare the paddle slightly behind and below the expected contact while keeping the hand in front of the torso. From there, guide the paddle forward with the gentle upward direction needed for the ball you received.
- Prepare near the expected contact.
- Let the shoulder carry the hand forward.
- Use the upward path the ball needs while keeping the face stable.
- Finish compactly and recover the paddle in front of the torso.
A low contact needs more upward path. A higher contact can travel more forward. Give each ball the clearance it needs instead of treating the tape like a target.
Net Margin Is Not the Enemy
A good dink clears the net safely, descends into the kitchen, and stays below comfortable attack height. A ball that clips the tape repeatedly is not automatically better than a ball with a little more usable arc.
Build a Base the Hand Can Trust
Bend through the knees and hips enough that the paddle can meet the ball without folding through the lower back or lifting with the hand. Stay supported by the legs rather than perched on the toes or locked upright.
- Keep the chest quiet enough that the contact window does not jump.
- Use comfortable knee bend rather than a deep squat.
- Balance pressure through the midfoot and forefoot with light heels.
- Maintain a level enough base to move laterally.
- Stay at roughly the same height through contact instead of standing up with the ball.
When the legs support the shot, the hand does not have to manufacture touch from a bad position. You should feel balanced, not folded through the lower back or trapped on your toes.
Backhand Dink After the Bounce vs. Backhand Dink Volley
The ordinary backhand dink can be played after the bounce or taken out of the air. The mechanics overlap, but timing and swing size change.
| After the Bounce | Out of the Air |
|---|---|
| More time to move around the ball | Removes time and may prevent a wider bounce |
| Swing may be slightly longer depending on contact height | Usually requires a shorter block-like motion |
| Bounce can improve spacing | Contact must remain comfortably in front |
| Useful when the volley would become a reach | Useful when the paddle can meet the ball without leaning |
| Requires reading the bounce | Requires earlier preparation and quieter hands |
Choose the better contact, not the earlier contact. Volley the ball when you can meet it comfortably in front. Let it bounce when taking it early would force you to lean, reach, or jam the paddle against your body.
Five Ways the Backhand Dink Falls Apart
Before changing three things at once, decide whether the problem begins with the read, the feet, the paddle face, the swing, or the base. Fixing the wrong problem is how players end up changing their grip when the ball was beside their hip all along.
1. The Paddle Face Is Still Searching
If the face is still opening or closing as the ball arrives, height and depth become unpredictable. Prepare the orientation earlier and remove the late hand correction.
2. Contact Drifts Beside or Behind the Body
Late or crowded contact pins the elbow and forces a rescue. Move sooner, create room, and use a safer neutral ball when perfect spacing is no longer available.
3. The Wrist or Elbow Takes Over at Contact
A neutral wrist is not automatically a problem. The problem is a wrist that flips or an elbow that pokes independently near contact. Keep both quiet enough to preserve the face while allowing natural adjustment.
4. The Swing Gets Too Large or Too Interested in Spin
Players often chase slice by carving steeply down or across the ball. Slice itself is not what makes the ball pop up. The usual causes are an open face, glancing contact, extra swing, upward compensation, or a late change in orientation.
- Forced slice: large chopping path, late face change, and spin created through effort.
- Controlled slice: compact shallow path, face organized early, and spin created through clean contact.
Slice is optional. Build the neutral backhand dink first. Add spin only when it does not disturb spacing, face stability, or recovery.
5. The Feet and Posture Stop Supporting the Ball
Repeated reaching, standing up through contact, or folding at the waist forces the hand to create height and touch from a poor platform. Use small steps, comfortable knee bend, and balanced support.
Backhand Dink Troubleshooting Table
The failure patterns above start with what the body is doing. This table starts with the miss you can actually see.
| What the Ball Does | Likely Causes | First Repair |
|---|---|---|
| Floats and hangs | Face too open, excessive lift, forced slice, late contact | Check contact position, then simplify the path and organize the face earlier |
| Dies in the net | Face too closed, insufficient net margin, contact too low or late | Improve spacing and add the upward path the contact needs |
| One flies and the next dies | Wrist, elbow, or face changes near contact | Remove the last-second correction |
| Contact keeps happening beside the hip | Late feet or poor spacing | Move before swinging |
| Ball jumps off the paddle | Grip tension, excess acceleration, or contact too close to the body | Relax the hand and shorten the swing |
| Low balls create panic | Standing tall or collapsing the torso | Use knees and hips to lower the contact platform |
| Volley feels unstable | Preparation is late or the swing is too large | Prepare sooner and use a shorter block-like path |
| Shot works in drills but fails live | The fix disappears once the feed becomes unpredictable | Add movement, bounce-or-volley decisions, and constrained games |
Progressive Backhand Dink Drills
Make the drill harder one piece at a time. As soon as the feet, face, or balance fall apart, the drill got hard too fast. Measure more than whether the ball landed in.
Stage 1: Stationary Cross-Court Backhand Dinks
Both players stand at the kitchen line and exchange cooperative cross-court backhand dinks. Neither player tries to win the rally.
- Prepare the face before the ball reaches the contact zone.
- Keep the hand in front of the torso.
- Let the shoulder lead while the elbow adjusts naturally.
- Use enough net margin for the contact.
- Finish balanced and recover the paddle.
- Complete 3 rounds of 12.
Track: net errors, attackable height, face changes, grip tension, and balance after contact.
Diagnostic cue: if the ball keeps hanging, check the face and swing path before blaming touch.
Stage 2: Small Lateral Movement
The feeder varies width without adding pace. Use small steps to reclaim a comfortable contact window.
- Move before reaching.
- Create room between the handle, elbow, and torso.
- Keep the swing calm even though the feet had to work.
- Hold your posture through contact.
- Complete 3 rounds of 10 feeds in each direction.
Track: whether contact happens in front, beside the hip, or behind the body; whether balance survives; and whether the paddle is recovered before the next feed.
Diagnostic cue: if contact keeps happening beside you, the feet are losing the race.
Stage 3: Bounce-or-Volley Decision Drill
The feeder varies height and depth. Call “bounce” or “volley” before the ball reaches the kitchen line, then execute the ordinary backhand dink.
- Volley when the paddle can meet the ball without leaning or reaching.
- Let the ball bounce when the bounce improves spacing.
- Use a shorter motion on the volley.
- Do not count a reach as a good decision merely because the ball stayed in play.
Track: decision quality, contact position, and attackable height.
Stage 4: One-Handed and Two-Handed Comparison
Hit one round one-handed and one round two-handed from the same feed pattern. Do not judge only by makes.
- Compare reach.
- Compare face stability.
- Compare tension.
- Compare recovery speed.
- Compare how early the feet must arrive.
Decision: pick the version that gives you the cleaner ball. Feeling stronger does not help if you lose reach, arrive late, or recover slowly.
Stage 5: Live Backhand-Dink Exchange
Play live dinks with one rule: routine balls on the backhand side stay backhand. No running around the ball to steal a forehand, and no speedups during the first five contacts.
- Aim for control before angle creation.
- Notice whether the same miss returns under pressure.
- Stop if the drill becomes repeated reaching and rescuing.
- Count rallies that remain unattackable for five or more contacts.
- Play to seven after the cooperative phase.
Track: popup rate, net-error rate, recovery readiness, and whether the correction survives changes in rhythm.
Graduation Standard
You are ready to add slice, roll, or flick work when the basic dink still holds together while you move, choose between a bounce and volley, and recover for the next ball. Twenty perfect feeds in a row do not prove that yet. The shot has to survive decisions.
When to Add Slice, Roll, or Flick
| Variation | Add It When | Hold Off When |
|---|---|---|
| Slice dink | The neutral face and path are already stable | You are using spin to rescue poor spacing |
| Backhand roll | The ball is high enough and comfortably in front | You are stretched, late, or below a useful contact height |
| Backhand flick | The ball is attackable and the disguise is practiced | You are speeding up because you do not trust the dink |
Build reliability before variety. Once the standard shot feels calm and repeatable under movement and decisions, use Backhand Roll in Pickleball and Backhand Flick for the offensive layers.
If you want to add more active topspin to the soft game, use Topspin Dinks in Pickleball rather than turning every standard backhand dink into a wristy roll.
For the rest of the stroke (from resets to rolls and flicks) continue through the PickleTip Backhand Guide.
Make the Backhand Dink Feel Ordinary
Your backhand dink does not need more panic, more hand action, or more last-second creativity. It needs earlier preparation, cleaner spacing, a stable contact window, and enough repetitions for the shot to stop feeling dangerous.
The players from that Tuesday night did not need a fancier backhand. They needed to stop treating every ball to that side like bad news. Prepare early. Move enough. Organize the face. Let the shoulder lead without freezing the arm. Give the ball the clearance it needs, recover in front, and do it again.
The goal is not a flashy backhand dink. The goal is a ball so dependable that your opponent stops seeing it as an invitation.
Backhand Dink FAQ
A backhand dink usually pops up because contact is crowded or late, the paddle face is too open, the swing lifts too much, the grip is tight, or the wrist changes near contact. Check spacing first, then paddle-face stability and swing size before trying to manufacture more touch or spin.
Not automatically. Two hands can add support and face stability, while one hand usually preserves more reach and may feel more natural for some players. Body type, prior racket-sport habits, and how early you position all affect the choice. Neither version fixes late feet or crowded contact.
Take it out of the air when you can meet it without leaning or reaching. Let it bounce when the bounce creates a better contact window. Choose the better contact, not the earlier contact automatically.
Start with stationary cooperative cross-court dinks, then add small lateral movement, bounce-versus-volley decisions, a one-hand-versus-two-hand comparison, and a live backhand-only exchange. Track contact position, attackable height, balance, and recovery, not just makes.