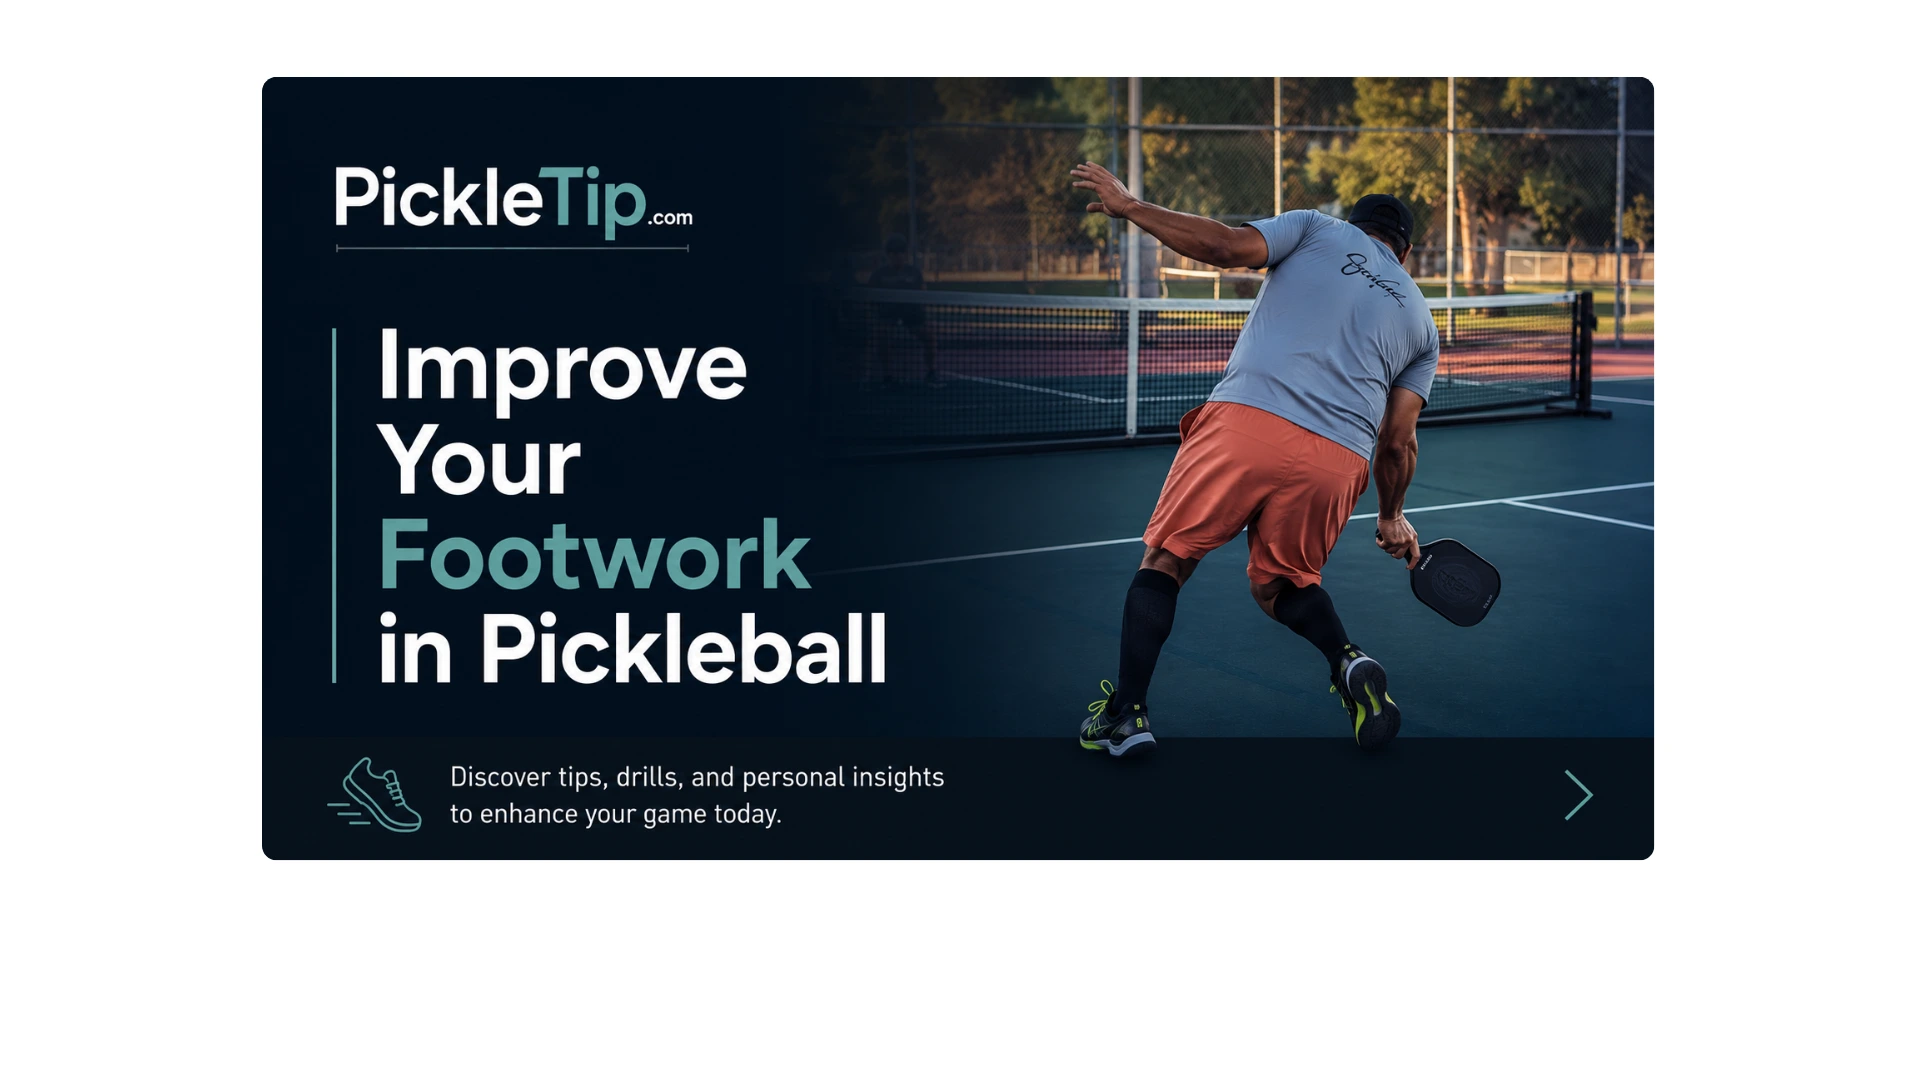
Pickleball Footwork Drills: Move Better, Stay Balanced, and Stop Reaching
Good pickleball footwork is not about running harder. It is about moving early, creating the right spacing, arriving balanced enough to use the shot you intended, and recovering before the next ball reaches you. Most players do not have a hustle problem. They have a balance, timing, spacing, or recovery problem that makes every shot harder than it needs to be.
I started studying footwork more seriously after video showed me something I could not feel while I was playing. I was letting the ball travel behind my right knee, taking an unnecessarily long route around some shots, and sometimes leading with the wrong foot. After an Achilles rupture, I could not solve those mistakes by simply telling myself to move faster. I had to learn to move earlier, waste less movement, create the contact point before swinging, and recover before the next ball exposed me.
Coaching, drilling with my son AJ, and reviewing our practice video helped me turn those mistakes into something I could actually teach and train. You do not need to memorize a dozen fancy steps. You need to recognize why you are late, leaning, crowded, stretched, or still moving at contact, then choose a drill that fixes the actual cause.
| What you notice | What probably happened | First correction |
|---|---|---|
| You dip before moving | You began too upright | Build a lower ready position you can push from |
| You reach beside your body | Your feet stopped one step too soon | Use the Extra-Step Drill |
| You fall or drift through contact | You did not organize your momentum before swinging | Use Move, Stop, Contact |
| You react late | Your ready position or split-step timing is late | Use the Split-Step Timing Drill |
| You cross on routine kitchen balls | You used emergency footwork for a short movement | Train push-and-glide shuffles |
| Contact falls behind your knee or hip | Your first move was late, indirect, or too large | Review the route and shorten the final steps |
| Your elbow feels trapped | You moved too close instead of creating room | Use an adjustment step away from the ball |
| You are attacked while moving forward | You advanced behind a ball that did not earn it | Settle earlier and read the opponent |
| You admire the shot and recover late | Your movement sequence ended at contact | Recover the paddle and base immediately |
The Four Jobs of Pickleball Footwork
I judge footwork by four things: Did you get there? Did you leave the paddle room? Were you organized at contact? Were you ready for the ball that came back?
- Move into range: Begin soon enough that you are not stretching at the last second.
- Create the contact window: Use adjustment steps so the ball is not jammed into your hip or drifting behind you.
- Organize before contact: Manage your momentum so the paddle is not fighting a falling, running, or leaning body.
- Recover immediately: Rebuild your base and paddle position as the ball leaves your paddle.
Move. Organize. Contact. Recover. Move early enough to reach the ball. Use the last few steps to create space and control your momentum. Make contact inside a window you can actually use. Then rebuild your base before the ball comes back.
You will not be perfectly still for every ball. Some defensive shots have to be hit while moving, stretching, or simply surviving. Being organized means your momentum is manageable and you know where your body must go after contact. It does not mean freezing before every swing.
Why Faster Feet Do Not Always Make You Quicker
Players often assume they need more speed. Sometimes they do. But many apparent speed problems begin before the first step. A player who recognizes the ball early, starts from a useful base, and moves directly can look quicker than a more athletic player who hesitates, lowers late, crosses unnecessarily, or finishes with one giant stride.
Trying to move faster before you learn to move better usually creates a faster version of the same mistake. The feet scramble, the torso leans, contact slides beside the body, and recovery becomes nearly impossible. Speed magnifies the movement pattern you already own.
Better footwork also improves usable reaction time. The ball does not slow down, but you stop spending time lowering late, untangling crossed feet, or recovering from the previous shot. Our Quick Hands in Pickleball guide covers the paddle-preparation side of that problem.
What Video Exposed in My Own Footwork
I looked slow on video, but the problem was not only reaction speed. I was standing too tall, crossing over on balls I could have shuffled to, taking an indirect route, and stopping one step too early. Those choices left me jammed, late, and off balance. Naming the cause gave me something useful to train. Simply calling myself slow did not.
Standing 6’1″ and weighing about 275 pounds, I already knew movement would never be the easiest part of my game. Recovering from an Achilles rupture made every wasted step more expensive. The first improvement I noticed was not dramatic speed. It was better balance and more time to prepare because I was getting into position earlier and taking a more direct route.
Under pressure, the first correction I tend to lose is the correct first step. When the rally speeds up, I can still fall back into crossing over or letting the ball travel too deep. That is why clean shadow movement is only the beginning. The correction eventually has to survive a ball I did not expect.
Start With a Base You Can Push From
A useful ready position is athletic without being tense. Place your feet slightly wider than shoulder width, flex the knees, and send the hips back just enough to balance the chest over a stable base. Keep the shoulders, hands, and grip relaxed.
Your weight should feel active through the balls of your feet, but that does not mean balancing on your toes with your heels floating off the court. You want to be ready to push in either direction, not perched forward and already falling.
- Feet slightly wider than your shoulders
- Knees flexed and tracking over the feet
- Hips back without sitting too deeply
- Chest balanced over the base
- Weight active but not pitched forward
- Shoulders, hands, and grip relaxed
Before an upright player can push laterally or react to a low ball, the body first has to lower. That extra movement costs time and often produces a late downward reach instead of a clean step. You do not need a deep squat. Use enough knee and hip flexion that you can push left or right without first dipping your head and shoulders.
For the full distinction between a ready stance and the stance used during contact, see Pickleball Stance. A stable base also depends on footwear that can handle repeated lateral starts, stops, and direction changes. Our guide to what makes a good pickleball shoe explains the design features that support court movement.
Watch the Feet Before You Blame the Swing
Players often look at a missed shot and blame the paddle face, wrist, or swing. By the time the paddle feels trapped beside the hip, the feet have usually made the first mistake. They arrived late, too close, or by the wrong route.
This is a cooperative kitchen drill with my son AJ and daughter Sydney, not a match and not a side-by-side test. They were trying to keep the ball moving while changing location. I use it here because the same type of ball produces noticeably different contact when the feet create space early versus late.
Watch the video three times:
- Watch only the feet and knees.
- Watch where the ball is relative to each player’s hips at contact.
- Watch what each player must do immediately after the shot.
What the clip shows: Watch how an early adjustment creates space between the hip and elbow before contact. When the feet organize late, the same cooperative ball has to be reached beside the body, and the next recovery step becomes harder. The lesson is not who hit the better ball. It is how the position created before contact changes the shot available at contact.
If the embedded video does not load, watch the drill directly on Facebook.
Early Feet Make the Contact Look Easy
In several exchanges, one player begins from a lower, wider base and makes the adjustment before the ball enters the body. That creates room between the hip and elbow. The paddle can remain in front, the stroke stays compact, and the head remains relatively quiet through contact. On video, the best adjustment may be the one you barely notice.
Late Preparation Turns the Paddle Into a Rescue Tool
In other exchanges, the player begins taller or waits longer before organizing the feet. The ball continues traveling while the body is still reacting. Contact drifts closer to the hip or beside the body, and the return requires more reaching, lunging, or last-second paddle adjustment.
The ugly swing may be the final compensation, not the first mistake. Fix only the hand and you may take away the player’s rescue without fixing the reason it was needed.
Knee Bend Helps, but “Get Lower” Is Not the Whole Correction
The lower player in the video appears more prepared, but knee bend alone does not create good footwork. A player can squat deeply and still be late, stuck, or too close to the ball. Begin low enough that the first movement can go toward the ball instead of downward into a stance.
“Out in Front” Is a Result, Not a Complete Instruction
Coaches frequently tell players to take the ball out in front. That describes the desired contact, but it does not tell the player how to create it. Contact moves forward when the player recognizes direction early, initiates the feet before reaching with the paddle, uses small adjustment steps, and organizes the body before the ball enters the hips.
“Out in front” does not mean locking the arm or reaching as far toward the net as possible. A dink, volley, drive, block, and reset do not share one fixed point in space. What they share is a usable window: the player can see the ball, organize the paddle face, maintain balance, and recover after contact.
For paddle placement and recovery between shots, use the complete Pickleball Ready Position guide. For the stroke and trajectory shown in this drill, continue with How to Dink in Pickleball.
The Three Contact Conditions I Look for as a Coach
Before I change a player’s swing, I check the position the feet created. Was the contact prepared, crowded, or stretched?
| Contact condition | What it looks like | What it gives the player |
|---|---|---|
| Prepared | Balanced base, working room near the hip and elbow, contact visible in front | Control, direction, and more than one reasonable shot choice |
| Crowded | Ball enters the body, elbow collapses, paddle works beside the hip | Fewer angles, less leverage, and more dependence on the wrist or forearm |
| Stretched | Head and chest leave the base, arm reaches before the feet arrive | Reduced paddle-face stability and a slower recovery |
Crowded and stretched contact are opposite spacing problems. One gives the paddle too little room. The other asks the paddle to work too far away from the body. Better footwork keeps more contacts inside the player’s usable range.
Footwork does not explain every miss. You can arrive balanced and still choose the wrong ball, open the paddle face, or mistime the swing. I start with the feet because poor spacing forces compensation. Once the contact is prepared, then I judge what the paddle did.
Coach the Cause, Not the Reach
“Stop reaching” and “bend your knees” may describe what the coach sees, but they do not always give the player an action that can be repeated. Try this sequence instead:
Ready before contact. Feet before hands. Create space. Meet the ball. Recover.
Score Prepared Contacts, Not Winners
Keep the rally cooperative and move the ball only far enough to require one or two adjustment steps. Do not score winners. Score prepared contacts.
- The player begins moving before reaching with the paddle.
- The head remains balanced over the feet.
- There is working room around the ball.
- Contact occurs in a visible, comfortable window.
- The player recovers before the partner strikes again.
A ball landing in does not prove the movement was good, and a miss does not prove it was bad. We are looking for the preparation that gives the player the most repeatable chance.
Seven Footwork Patterns You Will Actually Use
| Movement | Best use | Common mistake |
|---|---|---|
| Split step | Preparing as the opponent strikes | Landing too late or jumping too high |
| Lateral shuffle | Routine side-to-side coverage | Clicking the feet together |
| Adjustment steps | Creating final contact spacing | Reaching instead |
| Crossover step | Covering larger distances | Staying crossed into contact |
| Drop step | Turning for a ball behind or outside | Backpedaling blindly |
| Lunge step | Saving a difficult low or wide ball | Using it for routine balls |
| Recovery step | Rebuilding the base after contact | Watching the shot |
The Split Step
The split step is a timing move that helps you stop moving in one direction before reacting in another. It is not a dramatic jump. As the opponent contacts the ball, your feet separate into a balanced base and your body becomes ready to push either way.
- Move while the opponent is preparing.
- Settle as the opponent makes contact.
- Read the direction and height of the ball.
- Push into the movement the ball requires.
Use the split step when your movement has committed you in one direction and the opponent is about to reveal the next ball. That often occurs while advancing through the transition zone, after a return as the serving team prepares the third shot, and during kitchen exchanges after a wide ball has displaced you.
You do not need a theatrical hop before every opponent contact. If you are already balanced and ready, a subtle unloading and reloading of the feet may be enough. Timing matters more than height.
What to watch in the video: Focus on the timing of the feet as the opponent contacts the ball. The useful split step is small enough to preserve balance but early enough that direction can still change.
What the clip shows: The split step is a small timing move, not a jump for its own sake. Watch whether the feet settle as the opponent reveals the ball and whether the player can push in either direction afterward.
The Lateral Shuffle
The lateral shuffle is the default movement for routine side-to-side coverage near the kitchen. Push with the foot opposite the direction you want to travel, glide the body across the court, and keep the feet from clicking together.
Your head should remain at roughly the same height. If the body rises and falls with every step, you are adding unnecessary movement and making contact less predictable. Think push and glide, not bounce and chase.
When to Use a Crossover Step
Shuffle when one organized lateral push can cover the ball. Cross over when you need emergency distance. The crossover is not bad footwork. Staying crossed when you had time to rebuild the base is the problem.
If a strong push and glide can place your base under the ball, shuffle. If the ball has stretched you beyond that range, use the crossover to cover the distance. Then shorten the steps and rebuild before you swing. The crossover is a rescue tool, not home base.
The Drop Step
The drop step helps you turn toward a ball that is behind you, outside your shoulder, or traveling over your head. Open the outside hip, turn the body, and move diagonally or backward while keeping your eyes on the ball. Blind backpedaling keeps the hips facing forward, limits speed, and increases the risk of losing balance.
The Lunge Step
A lunge can save a difficult low or wide ball, but it should not replace routine adjustment steps. Control the momentum, keep the knee tracking over the foot, and begin recovering as soon as the shot leaves the paddle.
If every ball requires a lunge, the first movement is probably late or you are stopping one step too soon. Routine balls should usually produce routine footwork. When every contact looks like an emergency, diagnose what happened earlier.
Adjustment Steps
Large steps cover space. Small steps create contact. As you get close to the ball, shorten the stride so you can fine-tune the distance between your body and the ball. One long final stride often locks the body into the wrong spacing.
The Recovery Step
Recovery begins as the ball leaves the paddle. Recover the paddle, rebuild the base, and move toward a neutral or tactically useful location. Many players look quick before contact and slow afterward because their movement sequence ends too early.
Stop Reaching: Let the Feet Create the Contact
Reaching is often a footwork mistake disguised as a paddle mistake. The paddle extends because the body stopped moving. That shifts contact beside or behind the body, tilts the shoulders, and leaves the player stretched after the shot.
The Extra-Step Rule
When the paddle starts stretching beside your body, ask whether your feet had time for one more small step. That step often moves contact from beside the hip back in front of you. Sometimes the correct adjustment creates room instead of moving closer. The reminder is simple: do not let the paddle replace available footwork.
Get Behind the Ball Instead of Beside It
Move your center toward the contact window instead of leaning the torso toward the ball. Keep the ball in front of the knee and hip whenever possible. When contact moves beside or behind the body, the paddle path becomes cramped and recovery slows.
This was one of the clearest problems in my own video. I allowed the ball to travel too deep and often contacted it behind my right knee. The paddle was not the first problem. My feet had failed to organize the space.
What to watch in the video: Watch the relationship between my right knee, hip, and contact point. The useful question is not whether the swing looks wrong. It is whether the feet allowed the ball to travel too deep before the swing began.
What the clip shows: The contact problem begins before the paddle moves. Watch how the route and final adjustment affect whether the ball stays in front of my right knee or reaches the side of my body.
How to Recognize the Lean Early
- Your head moves outside the base.
- One leg straightens while the torso tips.
- The paddle begins reaching before the feet finish.
- The shoulders are no longer level.
- You cannot recover without an extra catch step.
If the lean appears on video, identify the missing movement. Did you react late? Stop one step too soon? Take an indirect route? Use a crossover when a shuffle would have kept you organized? The correction becomes clearer when you name the cause.
Pickleball Footwork by Court Zone
| Court zone | Default movement | Main risk | Recovery priority |
|---|---|---|---|
| Baseline | Split step, crossover, drop step, then adjustment steps | Running around the ball or moving forward too early | Protect depth and rebuild before advancing |
| Transition zone | Advance, settle, react | Running through low contact | Stop before the opponent strikes |
| Kitchen line | Push-and-glide shuffle with short adjustments | Crossing on routine balls or leaning on wide dinks | Recover laterally and reconnect with your partner |
Footwork at the Baseline
The baseline gives you more time and space, so larger movements become useful. Split step before reacting, use crossover or drop steps when the ball demands more distance, and shorten the steps as you approach contact.
- Protect against deep balls before moving forward.
- Cover distance with larger movements, then rebuild the base.
- Keep contact in front when driving or dropping.
- Use controlled weight transfer rather than falling through the shot.
On a third-shot drop or third-shot drive, the first large movement gets you into range. The final adjustment steps decide whether the ball stays in front or slides beside the hip.
Footwork in the Transition Zone
The transition zone demands repeated decisions. Advance while the ball is safe, but settle as the opponent prepares to hit. Expect low balls, half volleys, and attacks toward your feet.
- Move forward behind a neutralizing ball.
- Split step before the opponent’s contact.
- Shorten the final steps and settle instead of running through the shot.
- Advance, hold, or retreat according to the ball, not a predetermined plan.
Forward progress is valuable only when the shot earns it. Your feet also have to move with your partner. When one player advances and the other remains deep, the space between them becomes the target. Our pickleball positioning guide explains how both players should move together.
Footwork at the Kitchen Line
At the kitchen, the court is smaller and reaction time is shorter. Use a push-and-glide shuffle for routine balls, save the crossover for balls outside normal shuffle range, and use short adjustment steps to create room instead of reaching or crowding.
After a wide dink, recover laterally toward a useful position beside your partner. You are not trying to race blindly back to a painted spot. Rebuild the team’s width, protect the middle, and be balanced when the next opponent contacts the ball. For stroke and spacing details, see How to Dink in Pickleball.
Footwork Drills That Fix a Specific Problem
A drill that only makes you tired has not told you what your feet did wrong. Each drill should expose a specific movement problem and give you a clear correction. Begin with controlled movement, add direction changes, and then test whether the same pattern survives a wall or live ball.
| Supporting drill | Do this | Watch for | Move on when |
|---|---|---|---|
| Shadow footwork | Shuffle, move diagonally, and recover without a ball | Feet clicking together, head bouncing, torso leaning | The body stays inside the base without conscious correction |
| Lateral shuffle drill | Push and glide between two lateral targets | Crossing on routine range or rising with each step | You can increase the range without crossing or bouncing |
| Multi-direction cone drill / X Drill | Move from center to called forward, lateral, backward, and diagonal targets. For the X Drill, arrange four targets and move diagonally through the center, settling before each change. | Wrong first turn, long final stride, running through center, or failure to recover | The direction changes but posture, spacing, and balance through center remain stable |
| Step-out cone taps | Step to a cone just outside each foot and return to base | Inside knee collapse or every repetition becoming a lunge | You can widen the range without losing the base |
| Wall volley footwork | Use the feet to keep wall contacts in front as placement varies | Hands speeding up to rescue late feet | The same contact spacing survives unpredictable rebounds |
| Drop-step recovery | Turn to a ball behind one side, play it, and return to base | Blind backpedaling or ending the drill at contact | The recovery is as controlled as the initial turn |
Move, Stop, Contact
Setup: Have a partner feed balls to different locations from across the net.
Rule: Move toward the ball, shorten the final steps, settle the weight, and then make contact. Begin cooperatively before adding pace.
Coaching focus: Was the body still drifting when the paddle struck the ball? Reaching the ball and being ready to hit it are not the same thing. Add more variation once contact remains controlled even when the feed changes.
The Extra-Step Drill
Setup: Feed balls just outside the player’s comfortable reach.
Rule: Take one more adjustment step before extending the paddle whenever the feet still have time to help.
Coaching focus: Did the step improve contact height, spacing, and balance? It should solve the contact window, not create unnecessary motion. The drill has done its job when the player chooses the adjustment without being reminded.
Split-Step Timing Drill
Setup: Begin at the baseline or in the transition zone while a partner prepares to feed.
Rule: Move forward while the feeder prepares, split step as the feeder contacts the ball, and react to either side.
Coaching focus: Did you finish moving early enough to read the ball, or were you still traveling when direction was revealed? Let the feeder disguise direction once the timing works without guessing.
Figure-Eight Dink Drill
Setup: Two players dink in an alternating crosscourt pattern that moves the ball through a figure eight.
Action: Move laterally after each shot, create space, and recover toward a balanced kitchen position before the next ball.
Coaching focus: Do not remain at the previous contact point. The drill is working when shot direction, lateral movement, and recovery begin to feel like one connected sequence.
Two-Ball Toss and Reaction Drill
Setup: A partner holds two balls and tosses one unpredictably short, long, left, or right.
Action: Track the toss, move with the correct first step, and catch or strike the ball in front. Begin slowly and increase variation.
Coaching focus: Maintain posture and avoid letting the torso reach before the feet respond. AJ and I have used versions of this drill while I move forward from the baseline. It exposes whether I am leading with the correct foot and keeping the ball in front as the feed becomes less predictable.
How to Structure a Footwork Practice Session
Controlled, Directional, Then Reactive
First own the movement. Then make it survive a ball you did not expect.
- Controlled: Learn the movement shape without a ball.
- Directional: Add cones, angles, and planned changes of direction.
- Reactive: Add a wall or partner feed so the movement must respond to real timing.
Do not skip directly to chaos and call it training. Looking clean without a ball is the beginning. Keeping the same spacing and balance when the feed changes is the test.
A drill is not ready to get faster because it looked clean five times. Add speed when the same spacing, balance, and recovery survive a ball you did not know was coming.
A 15-Minute Beginner Footwork Session
- 3 minutes: ready stance and shadow movement
- 3 minutes: lateral shuffle drill
- 3 minutes: multi-direction cone drill or X Drill
- 3 minutes: split-step timing
- 3 minutes: wall or partner-fed reaction drill
Choose one correction for the session, such as keeping the feet separated, settling before contact, or recovering immediately. Trying to fix everything at once usually means nothing receives enough attention.
A 20-Minute Intermediate Session
- 3 minutes: dynamic warm-up
- 4 minutes: one movement pattern
- 4 minutes: contact-spacing drill
- 4 minutes: transition movement
- 3 minutes: reactive wall or partner drill
- 2 minutes: video review or notes
When to Add Speed and When to Stop
Add speed when the feet remain separated, posture stays stable, contact remains in front, recovery is possible, and the mechanics survive mild unpredictability. If the old lean, crossover, or late contact returns, reduce the pace and rebuild the pattern.
Stop or rest when fatigue changes the movement. One sign is that the final adjustment steps disappear and the upper body begins reaching again. Short, focused sessions usually build better habits than occasional marathons full of tired repetitions.
A movement pattern is not yours because it looked good for ten feeds. It becomes yours when it shows up in a game before you have time to think about it.
Improving Footwork Without Chasing Elite Speed
At 6’1″, about 275 pounds, and coming back from an Achilles rupture, I was never trying to move like a touring pro. I was trying to stop paying for wasted steps. Earlier recognition, a more direct route, shorter adjustment steps, and better recovery can improve contact without requiring elite court speed.
Train the Range You Can Control
Keep targets close enough that you can finish balanced. Short shuffle ranges, controlled cone taps, and wall drills can train useful movement without demanding full-court speed. Increase distance only when posture, knee alignment, spacing, and recovery remain stable.
For me, progress showed up as one less lean before it showed up as more court coverage. A cleaner contact point, a better recovery step, or one fewer rushed swing still counts.
Train Around Your Body, Not Through Pain
Footwork depends on the strength and mobility that support it. Ankle, calf, hip, and balance work can make court movement more reliable. Discomfort from effort is different from sharp, increasing, or injury-related pain. Modify the range, speed, or drill and seek medical guidance when needed.
The movement cues and drills here are coaching guidance, not an injury-rehabilitation prescription or a promise that an exercise will prevent injury. The American Academy of Orthopaedic Surgeons recommends choosing foot and ankle exercises with a doctor or physical therapist after injury, and the National Strength and Conditioning Association explains why deceleration is part of preparing to change direction. See the AAOS Foot and Ankle Conditioning Program and the NSCA overview of acceleration and deceleration mechanics.
How to Review Your Footwork on Video
Video removes the story you tell yourself about the point. You may feel as though you were simply late, but the recording can show whether the real problem was the first move, route, spacing, posture, contact point, or recovery.
Video gave AJ and me a way to separate what I felt from what actually happened. We could pause the movement, name the first mistake in the chain, and choose one correction instead of blaming the entire point on being slow.
How to Record a Useful Clip
- Use an angle that shows your feet, contact point, and recovery path.
- Record several points or drill repetitions, not one isolated mistake.
- Watch once at normal speed before slowing the clip down.
- Track one movement pattern across several contacts.
What to Watch Before Contact
- What was your first movement?
- Did you move directly or run around the ball?
- Was your base wide enough to react?
- Did your head rise, fall, or lean?
- Did you split step at the opponent’s contact?
- Were the final steps short enough to create spacing?
- Was contact in front of the knee and hip?
What to Watch After Contact
- Where did your momentum carry you?
- Did you recover your paddle and rebuild your base?
- Did you watch the shot instead of moving?
- Were you ready when the opponent made contact?
- Did your recovery reconnect you with your partner?
Review One Pattern at a Time
Choose one pattern—leaning on wide dinks, crossing at the kitchen, running through transition contact, or letting the ball reach the back knee—and track it through several points. Reviewing one pattern across several clips is more useful than diagnosing every mistake at once.
Pickleball Footwork FAQ
Use shadow movement, lateral shuffles, a multi-direction cone drill or X Drill, step-out cone taps, and wall drills. Begin without a ball, then add wall contact so the feet must respond to real timing.
Two or three short, focused sessions each week may be more useful than one long session, but the right frequency depends on your body, schedule, and recovery. Stop when fatigue changes the movement and focus on one correction at a time.
Yes. Begin with a movement range you can control, reduce speed, use shorter steps, and measure progress by balance and contact quality. Work with a qualified medical or rehabilitation professional when recovering from an injury or managing pain.
Progress from controlled movement to directional drills and then reactive feeds. A pattern that only works when you know where the ball is going is not ready for a game. Add uncertainty gradually and keep the correction narrow enough that you can recognize when it disappears.
Where I Would Start
- Build a ready position you can push from.
- Use short adjustment steps to keep contact inside a usable window.
- Train split-step timing and choose the right movement for the distance.
- Recover the paddle, base, and partner spacing after every shot.
- Test one correction under live-ball pressure, then review it on video.
One Less Lean Still Counts
There are still days when my movement feels awkward or my Achilles reminds me that recovery is not a straight line. During games, I do not always remember the proper movement at the right time. But a cleaner contact, one less lean, or one better recovery step is still progress.
Having AJ as a practice partner makes a difference. We can point out the mistake, test a correction, and laugh when the old habit immediately returns. Then we run the drill again.
Better footwork gives the paddle a better problem to solve. Once your feet move more reliably, learn where those feet should take you in our complete guide to pickleball positioning.