
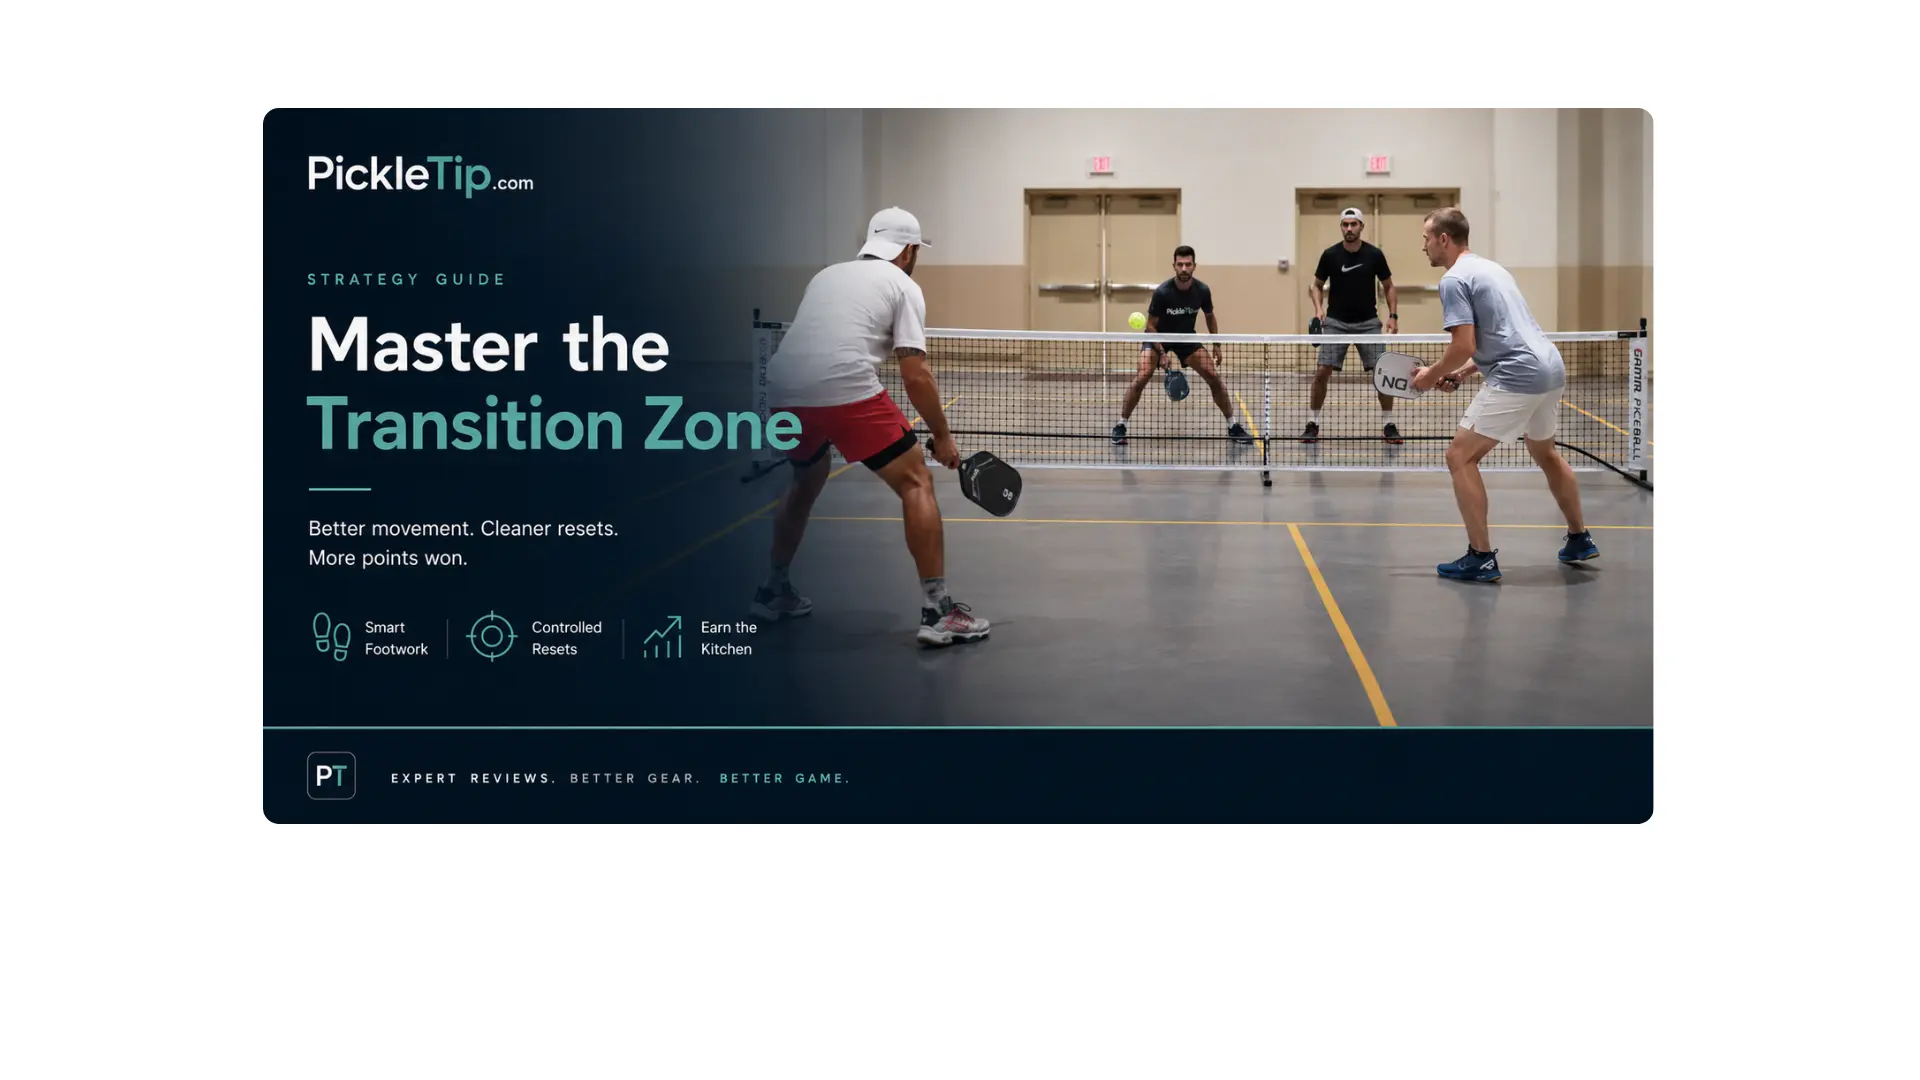
Pickleball Transition Zone: How to Move, Stop, and Earn the Kitchen
Mid-court is where good points go to die. Not because you are too slow, but because your feet are still moving when the ball reaches you.
Picture this: You hit a decent third shot, take two steps forward, and feel like you are finally making progress. Then the next ball comes heavy at your feet. You keep drifting, reach while moving, and float the ball chest-high. Pop-up. Speed-up. Handshake.
That point did not die because you were standing in the transition zone. It died because you tried to move and hit at the same time.
Transition-zone rule: Stop at contact, keep the ball unattackable, and take only the ground your shot earns.
The hard part after a third shot is not knowing that you eventually want the kitchen. Everybody knows that. The hard part is knowing when you have permission to move, when you need to stop, and when one more step would turn a good rally into a bad contact point.
If you are still deciding what third shot to hit in the first place, start with Third Shot Strategy. Once the ball is on its way and the rally starts changing shape, this is where the transition work begins.
What Is the Pickleball Transition Zone?
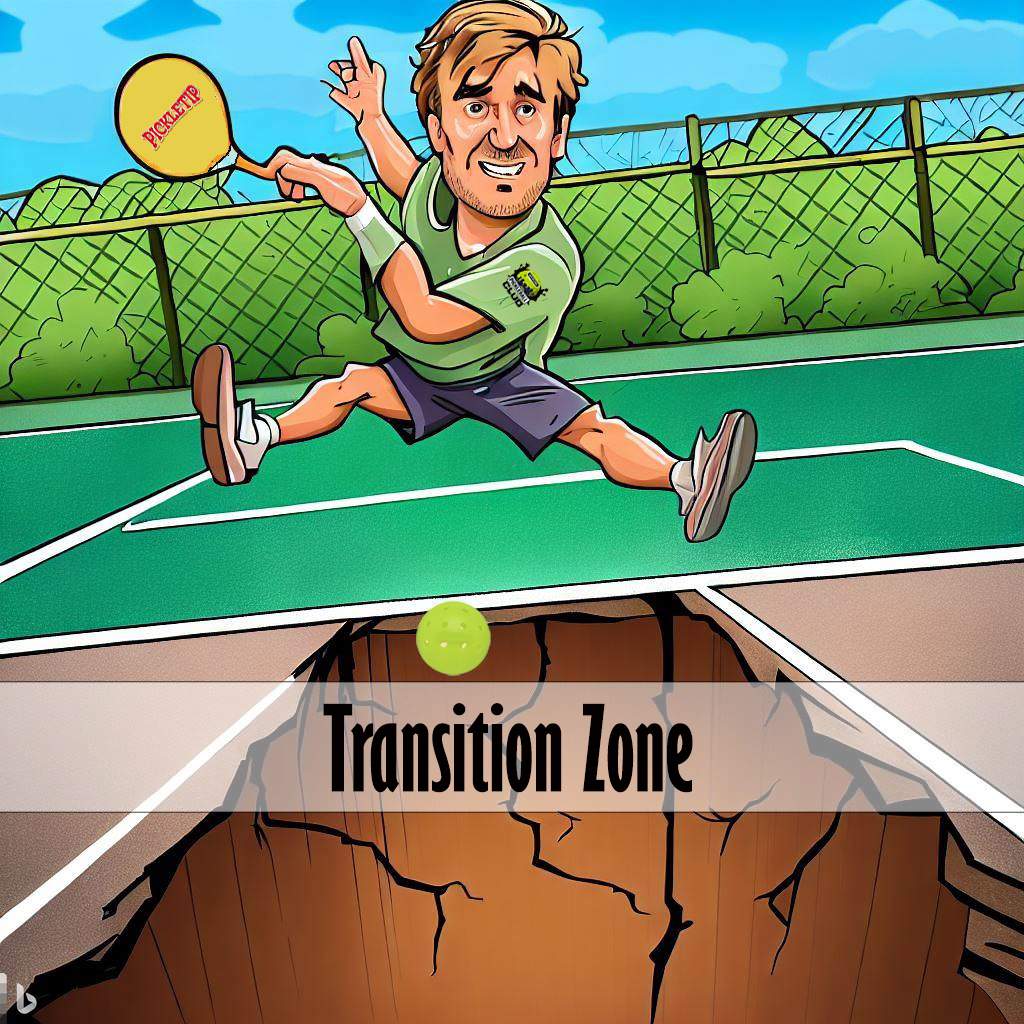
The pickleball transition zone is the space between the baseline and the non-volley zone line. You will also hear it called “no man’s land,” but that nickname creates the wrong lesson.
There is nothing automatically wrong with standing there. The problem is being there while unbalanced, upright, moving through contact, or disconnected from your partner.
At the baseline, you usually have more time. At the kitchen, you have better angles and leverage. In the middle, the ball reaches you quickly, often while rising, while your body is tempted to keep traveling forward. That is why the transition zone exposes bad timing faster than almost any other part of the court.
PickleTip insight: “No man’s land” is not a location problem. It is a contact-timing problem.
The Real Goal: Earn the Kitchen in Steps
The kitchen line is not a finish line. You do not sprint there just because you hit a decent third shot.
You move forward after creating a ball that reduces the opponent’s ability to attack. Then you read the next contact and decide whether you have earned another piece of court.
I teach this as movement permission. Your shot gives you permission when it forces the opponent to reach, scoop, block, contact below net height, or hit from an unstable position. If they are upright, balanced, and contacting comfortably, you have not earned much space yet.
Movement permission: Advance when the opponent is forced into low or defensive contact. Hold when the rally is neutral. Stop when the opponent is balanced and able to attack.
| Opponent Contact | Your Movement Decision | Why |
|---|---|---|
| Low reach, scoop, dink, or defensive block | Advance together | They cannot attack downward cleanly |
| Neutral contact below net height | Take controlled ground | The next ball is likely manageable |
| Comfortable contact around net height | Hold and prepare | The rally is still neutral |
| High, balanced, attacking contact | Stop immediately | You are about to defend pace |
This is why the fourth-ball read matters so much. A good third may earn two steps. A great one may earn the kitchen. A mediocre one may earn nothing. The shot does not decide how far you move. The opponent’s contact does.
Coach’s rule: If you cannot explain why you moved, you probably moved on hope.
Transition-Zone Footwork: Plant → Hit → Move
Use a simple cadence: plant → hit → move.
- Plant: stop your forward momentum before contact.
- Hit: make contact from a stable base.
- Move: take the next step only after the ball leaves your paddle and the resulting shot earns it.
The “plant” does not need to be dramatic. It might be a split step, a small hop, a wide athletic stop, or simply quiet feet. The point is to remove forward drift before the paddle meets the ball.
Then do it again.
Plant. Hit. Read. Move if you earned it. Plant again.
Fast diagnostic: If your shoes squeak during contact, you were probably still traveling.
The Split Step Is Your Mechanical Brake
The split step gives you a moment of stillness while the opponent reveals pace, height, direction, and intent.
Use this timing:
- Begin the split as the opponent prepares to strike.
- Land as the opponent makes contact.
- Read the ball from a stable base.
- Move only after you identify the incoming shot.
If you land after the opponent hits, you are late and will lunge. If you land early and immediately keep walking, you never actually used the brake.
PickleTip insight: The split step is not a ritual. It is the moment that turns a moving camera into a clear picture.
Perception Lag: Why Moving Feet Make Your Hands Look Slow
Many players blame their hands when the real problem is visual instability. If your body is still drifting while the opponent strikes, your brain is trying to read pace, spin, height, and direction from a moving platform.
That creates what I think of as perception lag:
- the contact point seems later than it really is
- the ball appears to jump unexpectedly
- your paddle arrives behind the ideal contact point
- you compensate with a bigger or more desperate swing
This is why players often say, “My hands were late,” when their feet never gave their eyes a stable picture in the first place.
I saw exactly that with Sarah during a lesson. She could soften her midcourt resets during stationary drills, but once she started moving through transition, the same ball kept sitting up. She blamed stiff hands and kept loosening her grip. I stopped the feed and watched her feet instead.
Her final step was landing as the opponent struck, which meant her body was still traveling forward when the ball reached her paddle. Her chest fell behind her feet, and the hands she was trying to fix were being asked to control the ball from a moving platform.
The correction was not instant. The first two attempts produced another high bounce and a net-cord dump. On the third rep, she timed the split step early enough to become stable before contact. Her chest quieted, the hands she already had could finally work, and within a few repetitions the resets stayed lower while she moved through the transition zone.
Vision check: If you can clearly see the opponent’s feet and paddle position at contact, you are probably stable enough to read the shot. If everything feels like ball-ball-ball, your body may still be traveling.
Stalling in the Transition Zone Is Not Passive
Stalling means holding your ground in the transition zone while you survive the current ball and wait for a better opportunity to advance.
It is not hesitation. It is control.
- Stall when the incoming ball is deep, heavy, or attacking your feet.
- Stall when your previous shot did not force low contact.
- Stall when your partner is behind and advancing would split the team.
- Stall when moving would force you to contact while leaning or reaching.
Your job during the stall is not to win the point from mid-court. Your job is to keep the next ball manageable and create a better opportunity to move.
Coach’s rule: Stillness is not surrender. Stillness makes the opponent create the next risk.
When Pressure Says Stop, Stop
Eventually, someone is going to attack your feet while you are between the baseline and kitchen. That is where a lot of players make the same mistake: they keep moving forward because they already decided they were “going to the kitchen.”
The ball does not care about your plan.
If the incoming ball takes away your balance or forces a defensive contact, stop first. Your next job is to neutralize the pressure, not steal another step.
A reset is one of the main tools for doing that. The goal is simple: take an attacking ball and return something low enough that the opponent loses the clean downward attack. If that neutral ball earns you space, then movement begins again.
How the point actually moves: Earn ground → stop before contact → neutralize pressure if you have to → read the next ball → earn ground again.
The grip pressure, paddle angle, contact point, reset types, target windows, mistakes, and reset drills are covered in How to Reset in Pickleball.
Compact Contact Buys You Time in Mid-Court
The transition zone punishes long preparation. The ball reaches you faster, the court feels compressed, and a big swing makes it harder to recover before the next ball.
- Keep the paddle in front instead of letting it disappear behind you.
- Shorten the backswing when the ball arrives quickly.
- Keep the head quiet so your eyes can track from a stable platform.
- Use your legs to get low instead of collapsing at the waist.
- Recover the paddle quickly because another ball is probably coming.
Quick test: If your paddle wraps behind your shoulder while you are stuck in mid-court, you probably prepared for more time than the rally actually gave you.
If your paddle keeps getting caught out of position here, start with Paddle Position in Pickleball.
Crawfishing: The Backward-Drift Mistake
I use the term crawfishing for a player who is drifting backward while trying to attack or control the ball at the same time.
You see it all the time. A player starts forward, gets a harder ball than expected, and begins sliding backward while still trying to play offense.
Backing up is not automatically crawfishing. Sometimes giving up a step is exactly what the rally requires. The problem is drifting backward through contact while still trying to play offense. If you need space, take the space early, get stable, and hit from there.
Crawfishing creates three problems:
- contact moves behind the body
- the paddle face becomes harder to control
- the player loses the ability to move forward efficiently after the shot
If the ball forces you backward, accept it early. Create space, get stable, survive the contact, and rebuild the point. Trying to attack while retreating usually turns one bad position into two.
Coach’s rule: Do not attack while the court is moving away from you.
Doubles Transition: Stay Connected or Get Split
Transition movement is a team action. One player charging forward while the other stalls creates a diagonal opening that better teams see immediately.
- If one partner stops, the other should recognize the stall.
- If one partner earns a step, the other should move enough to stay connected.
- Protect the middle instead of creating one-up, one-back spacing.
- Match your partner’s stop more than their speed.
You do not need to stand on the exact same court stripe. You do need enough alignment that neither player becomes isolated.
This becomes especially important when one partner hits the third and the other starts closer to the kitchen. The non-hitting partner should not blindly continue forward while the hitter is still fighting through transition. Stay connected to the rally, not to an imaginary finish line.
Quick diagnostic: If you can see your partner’s back during the rally, your team is probably too staggered.
The Most Common Transition-Zone Mistakes
- Walking through contact: You are still traveling when the ball reaches the paddle.
- Rushing after a decent third: You move before the opponent’s contact proves the shot was good enough.
- Refusing to stall: You treat every stop in mid-court like a failure.
- Standing tall: Your athletic base disappears just when the ball starts arriving at your feet.
- Over-swinging: You use baseline-sized preparation in a compressed part of the court.
- Crawfishing: You retreat while still trying to attack or control aggressively.
- Partner separation: One player moves while the other remains behind.
- Trying to win the mid-court ball: You force offense when the rally is asking you to survive.
Self-correction: If balls keep popping up while you move through transition, check your feet before rebuilding your hands.
Transition-Zone Movement Checklist
- Read the opponent’s contact before deciding how much ground to take.
- Use small adjustment steps instead of running through the middle of the court.
- Split-step as the opponent makes contact.
- Plant before your own contact.
- Keep your head quiet and eyes level.
- Stall when the rally has not earned another step.
- Neutralize pressure before trying to advance again.
- Give up court deliberately when you need space; do not drift backward through contact.
- Move only after your shot earns movement permission.
- Stay connected with your partner.
Transition-Zone Drills
1. Plant-Hit-Move Drill
Start near the service line. A partner feeds controlled balls while you exaggerate the cadence: plant, hit, move. The rep does not count if your feet are still traveling at contact.
Do not worry about reaching the kitchen quickly. The goal is to make stillness at contact automatic.
2. Movement Permission Drill
Start behind the transition zone while a partner feeds a mix of easy and aggressive balls. After every shot, you must call one of three words before moving:
- Go: the opponent was forced into low or defensive contact, so take ground.
- Hold: the rally remains neutral, so keep your position.
- Stop: the opponent has attacking contact, so stabilize immediately.
The point of the drill is not whether your call is perfect. It is to stop automatic forward movement and make every step answer a question.
3. Partner Stall-and-Go Drill
Both players begin in transition. The feeder alternates pressure balls and neutral balls. Both partners must stall together under pressure and move together only after they create a low, manageable reply.
If one partner moves and the other stays, the rep fails even if the ball lands in.
4. Split-Step Timing Drill
Move forward between feeds, but your goal is to land the split step as the feeder contacts the ball. Freeze for an instant, read the feed, then react.
If you are still airborne after contact or walking when the ball is already coming toward you, restart the rep.
5. Vision Check Drill
During each rep, call out something you saw at the feeder’s contact: paddle position, feet, body balance, or contact height. If you cannot see anything except the incoming ball, you were probably moving too much to read the full picture.
Drill standard: Reaching the kitchen is not the score. Stable contacts, correct movement reads, and staying connected with your partner are the score.
Pickleball Transition Zone FAQs
The transition zone is the area between the baseline and the non-volley zone line. Players move through it while trying to reach the kitchen, but good transition play requires stopping before contact, staying balanced, and advancing only when the previous shot earns movement.
No. The problem is not the location itself. The problem is being unbalanced, moving through contact, standing too tall, or becoming separated from your partner. Good players often stop in transition on purpose.
Move when your shot forces the opponent to reach, scoop, block, contact below net height, or hit from an unstable position. Hold or stop when the opponent is balanced and able to attack comfortably.
Stop before your own contact and whenever the opponent has a balanced, attackable ball. Use the split step around the opponent’s contact so you can read the next shot from a stable base instead of running through it.
Stop trying to advance, stabilize your body, and neutralize the pressure before moving again. A reset is often the right tool when the ball is low or attacking your feet; detailed reset mechanics belong in PickleTip’s How to Reset in Pickleball guide.
Yes. Giving up court deliberately can be the right decision when you need space or the incoming ball takes away your balance. The mistake is drifting backward through contact while still trying to attack. Create the space early, get stable, play the ball, and rebuild the point.
Partners should remain connected and avoid one-up, one-back spacing. If one player stalls, the other should recognize it. If one player earns a step, the other should move enough to protect the middle and diagonal gap.
A common cause is moving through contact. Forward drift makes it harder to control your contact point and paddle face. Stop before hitting, stay low, shorten the motion, and move again only after the shot earns the next step.
If you remember one thing: You do not get to the kitchen because you decided to go there. You get there because you keep earning the next piece of court.
What to Work on Next
- Third Shot Strategy — choose the ball that starts the transition.
- How to Reset in Pickleball — learn the mechanics for neutralizing pressure when transition stalls.
- Paddle Position in Pickleball — fix the ready-position problems that show up when mid-court exchanges get fast.
- When to Attack in Pickleball — recognize when a neutral rally finally gives you a real green-light ball.




Do you have any videos for the mid court reset.
I am frustrated with my pickleball skills at this point. However, I am not going to give up. I have read about the transition zone, no man’s land. I have played about a year. Maybe 2.75 to 3.00 skills.
My playing is I do get up to the kitchen; however, get caught when the opponent hits the ball to the mid court or to the baseline and I did not hit the ball in the kitchen. At times, the opponent hits my upper body while I am at non volley area, near the kitchen. Help!
great tips:)