Pickleball Ready Position: Paddle Placement, Posture, and Recovery
Your ready position is not a frozen pose. It is the recoverable body-and-paddle position you return to between shots so you can react to the next ball without wasting movement.
Who this helps:
Players who see the ball but still feel late, players whose paddle drops after every shot, and players who use the same posture at the baseline, in transition, and at the kitchen.
After a clinic the other day, one of my students hit a good dink, but her paddle finished beside her thigh. Her opponent sped up the next ball through the middle. She saw it, but her hands had too far to travel before the paddle could defend. The problem was not reaction speed. She never returned to ready.
This is one of the easiest ready-position problems to misdiagnose. The player looks ready before the rally starts, but the paddle disappears after the first contact. The starting pose was fine. The recovery between shots was not.
What is the pickleball ready position?
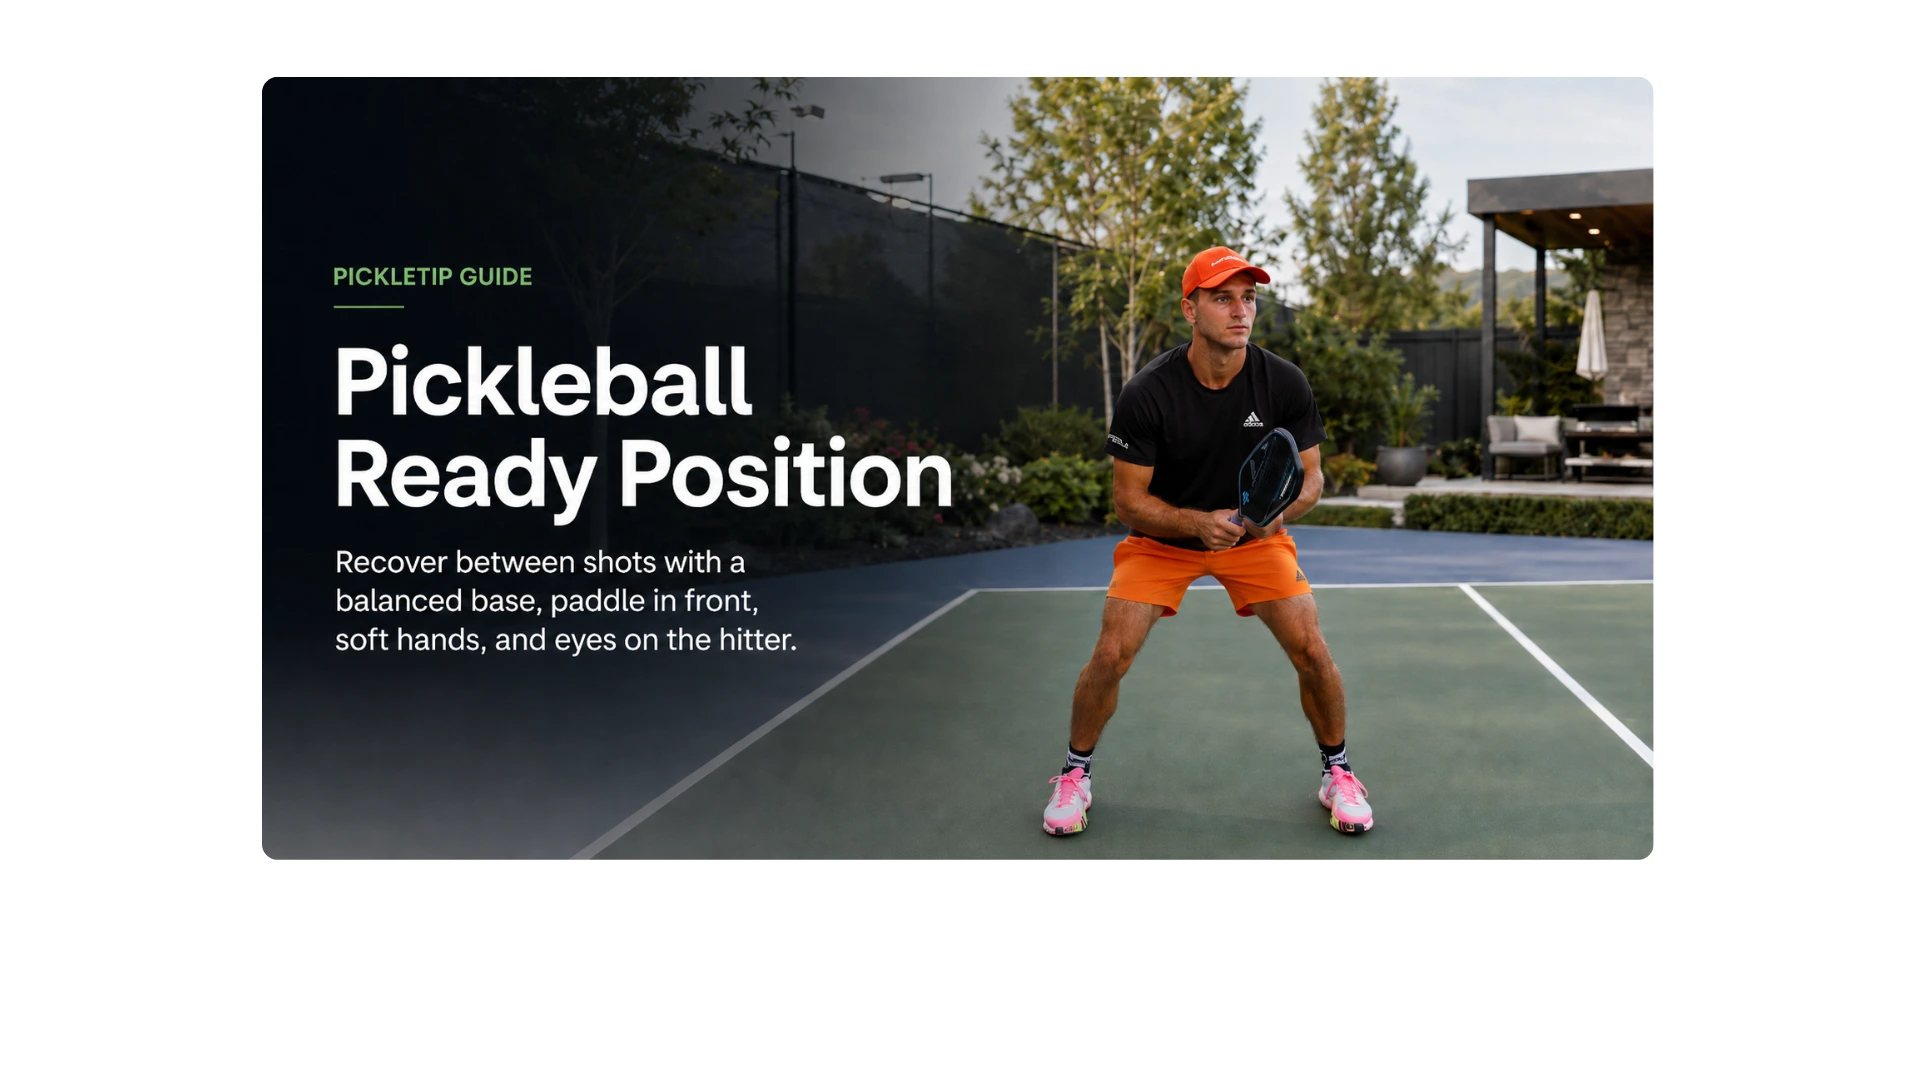
The pickleball ready position is the balanced, recoverable posture you use between shots. Your feet stay available, your paddle returns in front, your hands remain relaxed, and your eyes move back to the opponent so you can respond to the next ball.
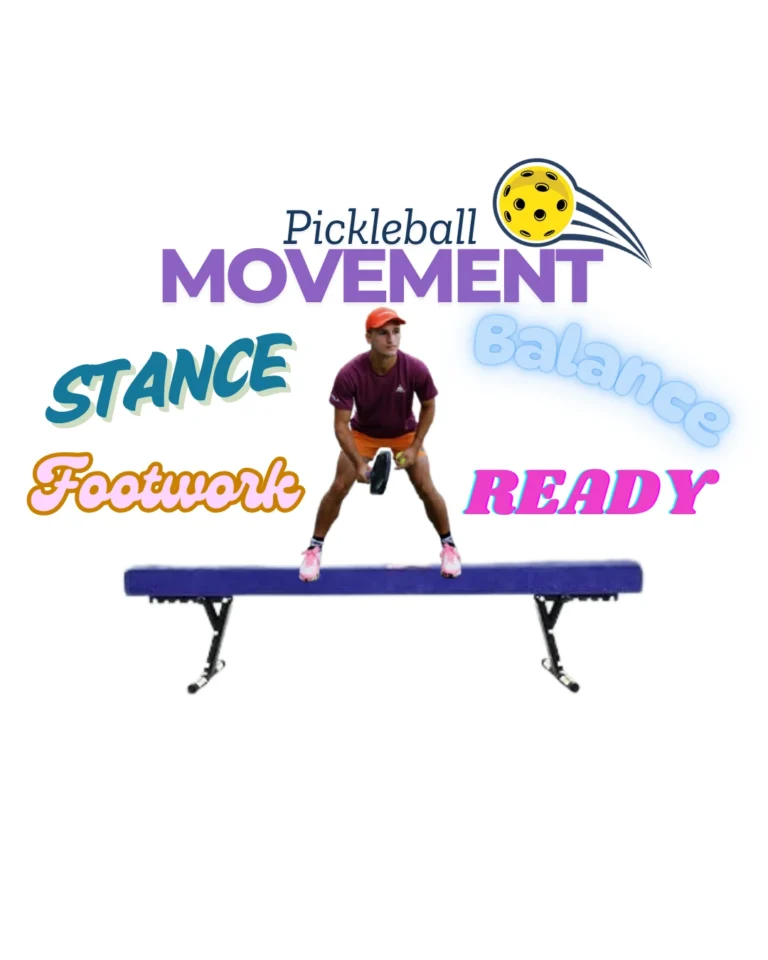
Ready position is what happens between contacts. Your pickleball stance describes how your feet and body organize for the hit. Pickleball positioning explains where you and your partner belong on the court. Ready position is the body-and-paddle organization you recover before the next ball arrives.
What This Guide Fixes
- Why players feel late even when they see the ball
- Ready position vs stance, positioning, and footwork
- The PickleTip READY framework
- Where to hold the paddle
- How ready position changes across the court
- Neutral, forehand, and backhand paddle bias
- One-handed and two-handed ready positions
- How to recover before the opponent hits
- Diagnosing why you feel late or jammed
- Common ready-position mistakes
- Four ready-position drills
- Questions players ask
Why You Feel Late Even When You See the Ball
A good ready position shortens what must happen after the opponent hits. The paddle has less distance to travel, your feet are available in either direction, and your attention has already left your previous shot and returned to the hitter.
When you recover well, four things get easier:
- Your balance remains available for movement in either direction.
- The paddle begins close enough to defend a fast ball.
- Relaxed arms can absorb, block, or redirect pace.
- Your eyes read the opponent’s contact instead of following your own shot.
Many of my students call this a reaction-time problem because they saw the ball and still missed it. But seeing the ball is only the first step. If the paddle starts beside the leg, the body has already added unnecessary travel to the reaction.
Coach Sid’s diagnosis: If you see the speed-up but cannot get the paddle there, check where the paddle started. A paddle hanging beside the thigh can make decent hands look slow.
Ready does not look the same everywhere. Court location, time pressure, opponent posture, and the ball you are most likely to receive change how compact, high, or biased the paddle should be.
Ready Position vs Stance, Positioning, and Footwork
These terms are often used as if they mean the same thing, but each solves a different part of the rally.
| Concept | Main Question | Primary Focus |
|---|---|---|
| Ready position | Am I prepared for the next ball? | Body, paddle, hands, vision, and recovery between shots |
| Stance | How are my feet and body organized for contact? | Open, semi-open, neutral, closed, base width, and weight transfer |
| Positioning | Am I standing in the correct place? | Court location, partner spacing, threats, and responsibilities |
| Footwork | How do I move and recover? | Adjustment steps, spacing, split step, balance, and recovery movement |
You can stand in the correct court position and still hold the paddle poorly. You can also have the paddle in front while your feet are stuck or your body is falling through the shot. You need all four. Good paddle position cannot rescue stuck feet, and good footwork cannot rescue a paddle hanging beside your leg.
The PickleTip READY Framework
I use READY as a five-part checkpoint between shots. It is not something to recite forever. It is a way to build the habit until the recovery begins happening on its own.
| Letter | Checkpoint | What It Means |
|---|---|---|
| R | Recover the paddle | Return the paddle in front instead of leaving it in the follow-through |
| E | Eyes on the hitter | Read opponent posture, paddle path, and contact |
| A | Athletic base | Stay balanced, light, and available to move |
| D | Distance from the body | Leave enough room for the paddle to move without becoming disconnected |
| Y | Yield to the likely ball | Use a small forehand, backhand, high, or low bias without overcommitting |
READY happens after every contact. Recover the paddle, reorganize the body, and get your eyes back to the hitter before the opponent strikes the next ball.
What I check first: When a player thinks the answer is faster hands, I look at starting distance. If the paddle begins beside the thigh, the hands are being asked to solve a positioning problem.
I see it most often after a forehand dink or volley. The player finishes outside the body, watches the shot for a beat, and leaves the paddle there. The next speed-up is not unusually fast. It only looks fast because the paddle is starting from the wrong neighborhood.
Where Should the Paddle Be in Ready Position?
In a neutral ready position, hold the paddle in front of the torso with soft elbows and enough room between the hands and body for the paddle to move freely.
- In front, not beside you: the paddle should remain visible in your lower peripheral vision.
- Leave working room: do not press the paddle against the chest or reach so far forward that the shoulders tighten.
- Let the elbows stay soft: pinning them to the ribs limits adjustment, while lifting them rigidly creates tension.
- Keep the paddle head generally above the wrist: especially at the kitchen, where the ball has less distance to travel.
- Start with the face near neutral: an exaggerated open or closed face commits before you know the incoming ball.
- Use quiet hands: excess pickleball grip pressure slows adjustment and makes blocks and resets harder.
How far in front should the paddle be?
Keep it far enough forward to meet a fast ball without pulling the elbows behind the body. When the shoulders rise or the arms become rigid, the paddle has probably drifted too far away.
A useful starting point is to place the hands somewhere around the lower chest or upper stomach, then adjust for the court zone and expected contact. At the kitchen, the paddle normally moves higher and farther forward. At the baseline, it can sit slightly lower because you have more time and may need a longer preparation path.
Should the paddle face point upward?
Not by default. A slightly open face can help against a low ball, but leaving it permanently open can send a fast volley upward. Begin close to neutral and let the height, pace, and direction of the incoming ball determine the final angle.
Simple cue: Paddle in front. Elbows soft. Face neutral. Shoulders quiet.
Your Ready Position Changes Across the Court
A single ready-position pose falls apart as soon as you move from the baseline to the kitchen. The closer you get to the net, the less time the ball has to travel and the more compact your preparation must become.
Ready position by court zone: At the baseline, you have room and time to prepare. In transition, stability matters most. At the kitchen, extra paddle travel gets punished.
Baseline ready position
- Use a balanced base that allows lateral movement and adjustment steps.
- Keep the paddle in front, but it does not need to sit as high as it does at the kitchen.
- Leave enough freedom to prepare a drive, drop, return, or defensive swing.
- Avoid locking into a large forehand or backhand commitment before the ball is struck.
- Recover the paddle and base after the serve, return, or third shot.
When I first started playing pickleball, it took me a while to realize I was only ready before the rally began. My knees were bent and my paddle started out front, but after I hit the ball, I did not recover either one. I looked ready in a photograph. I was not ready for the next shot.
The baseline gives you more reaction time, but “lower” does not mean hanging beside the leg. A paddle that disappears after the serve or return still has to travel back into the hitting window.
Transition-zone ready position
- Lower the center of mass enough to defend the feet.
- Organize the paddle in front before the opponent contacts the ball.
- Use soft elbows and hands for blocks and resets.
- Split-step or stabilize as the opponent prepares to hit.
- Avoid walking through contact with the paddle drifting behind you.
Transition is where movement gets confused with readiness. Reaching midcourt does not help if you are still walking forward when the opponent drives at your feet. You need to stop, organize the paddle, and become capable of defending before taking the next step.
For the broader movement system, see the Pickleball Transition Zone guide. For the soft defensive shot that often gets you through this part of the court, use the guide to resetting in pickleball.
Kitchen-line ready position
- Hold the paddle farther forward because reaction time is shorter.
- Keep the swing path compact and the elbows available.
- Prepare for body, middle, shoulder, and outside-hip speed-ups.
- Use a slight backhand bias when the situation supports it, but remain able to release to the forehand.
- Recover after every dink, volley, block, counter, or speed-up.
At the kitchen, do not pull the paddle all the way back to the chest after every contact. Recover to a small working space in front so the next ball does not beat the paddle to your body.
| Court Zone | Paddle Position | Body Priority |
|---|---|---|
| Baseline | In front, slightly lower, relaxed | Movement range and shot preparation |
| Transition | Compact, forward, prepared for low contact | Stability, resets, and stopping before contact |
| Kitchen | Farther forward, generally higher, very compact | Reaction speed and rapid recovery |
Neutral, Forehand, and Backhand Paddle Bias
Neutral does not mean the paddle must point straight ahead with no preference. It means the preference is small enough that you still have a second option.
Neutral bias
Use a neutral bias when the opponent has several realistic options and you do not have a strong read. Center the paddle enough to cover the forehand, backhand, body, and middle without a large recovery move.
Backhand bias
A slight backhand bias is common at the kitchen because the backhand can protect the body and middle with a compact movement. The trouble begins when the paddle turns so far toward the backhand that a ball outside the forehand hip becomes difficult to reach.
Forehand bias
A slight forehand bias can make sense when the opponent’s contact, court position, or repeated pattern strongly favors that side. A large preloaded backswing is different. It reveals the commitment and exposes the body or backhand before the ball has even been struck.
Coach Sid’s rule: Bias is a head start, not a guess. Lean toward the likely ball, but stay close enough to neutral that a wrong read does not leave you helpless.
One-Handed vs Two-Handed Ready Position
Players with a two-handed backhand often rest the non-dominant hand lightly on the paddle or handle while waiting. That connection can shorten preparation for a two-handed response, especially at the baseline or against a predictable drive.
- Rest the second hand lightly: squeezing with both hands creates tension before the ball arrives.
- Allow a quick release: the non-dominant hand cannot trap the paddle when a one-handed forehand is needed.
- Leave room in front: two hands do not help if the paddle is pinned against the chest.
- Match the likely contact: a two-handed setup may help against drives but can feel crowded during every kitchen exchange.
- Use the free hand: one-handed players can use the non-dominant hand for balance, tracking, and paddle recovery instead of letting it hang behind the body.
Neither version is automatically better. Use the second hand when it improves connection and preparation. Release it when it begins restricting the forehand, reach, or quick paddle-angle changes.
Recover Before They Hit Again
The position only helps when you can recover to it without thinking. Use this sequence after contact:
- Hit: finish the shot without letting the follow-through run longer than the ball requires.
- Center: return the paddle toward the working space in front of the body.
- Rebalance: use adjustment steps to regain spacing and a movable base.
- Read: move your attention to the opponent’s body, paddle path, and contact.
- Bias: prepare slightly for the most likely ball without abandoning the alternatives.
The recovery must finish before the opponent contacts the next ball. If your paddle is still completing the previous shot when the next swing begins, you are reacting from the past.
Reaction time begins before the ball is struck. Paddle recovery, balance, visual attention, and split-step timing all influence what happens after contact. For the movement side of the sequence, see Footwork in Pickleball.
Recovery cue: Hit → center → read. Do not admire the shot.
Why Do I Still Feel Late or Jammed?
The miss usually gives you a clue. Before blaming hand speed, look at what the paddle and body were doing when the opponent contacted the ball.
| What You Feel | Likely Ready-Position Problem | What to Check |
|---|---|---|
| Jammed on body attacks | Paddle crowded against the chest or committed too far to the forehand | Leave working room and use a smaller bias |
| Late to middle speed-ups | Paddle begins low, wide, or outside the defensive path | Recover in front and shorten the starting distance |
| Pop-ups on blocks | Grip and shoulders are tense, or the paddle face begins too open | Reduce grip pressure and start closer to neutral |
| Cannot defend while moving forward | No stabilization before opponent contact | Split-step or stop before the ball arrives |
| Forehand feels unavailable | Backhand bias has become a full commitment | Move closer to neutral and practice releasing outside the hip |
| Late after your own good shot | You watched the result instead of recovering | Use the cue: hit, center, read |
A better ready position will shorten your response, but it will not fix everything. Poor court position, a late split step, weak anticipation, bad spacing, or an inefficient stroke can still make you late. Sometimes the paddle is ready and the feet are not.
The table starts with what the miss feels like. The list below starts with what the paddle or body is doing wrong.
Common Pickleball Ready-Position Mistakes
- Paddle by the thigh: adds travel before the paddle can defend.
- Paddle pressed against the chest: removes the working space needed for quick reactions.
- Elbows pinned to the ribs: limits reach and paddle-angle adjustment.
- Elbows lifted rigidly: creates tension and makes soft defense harder.
- Standing too upright: delays movement and exposes low contact.
- Heels heavy: slows the first adjustment step.
- Leaning forward without balance: looks athletic but makes backward and lateral movement difficult.
- Using the same setup everywhere: ignores how reaction time changes by court zone.
- Holding one bias too strongly: exposes the opposite side and the body.
- Watching your own shot: delays the read of the opponent’s contact.
- Staying in the follow-through: leaves the paddle outside the next defensive path.
- Squeezing the handle: slows adjustment and makes resets harder. Use the pickleball grip-pressure guide if your hands and shoulders remain tense.
If you repeatedly feel late, do not assume you need faster hands. Check how far the paddle traveled, whether your base was balanced, whether you stabilized before contact, and whether your attention returned to the hitter soon enough.
Four Pickleball Ready-Position Drills
Train recovery to ready, not just the starting pose. Begin with the hit-and-freeze drill because it slows the sequence enough to expose where the paddle, feet, or eyes are being left behind.
1. Hit-and-freeze recovery check
Hit a controlled ball, recover, and freeze before the feeder sends the next one. Check that the paddle is in front, the elbows are soft, the weight is balanced, and the eyes have returned to the hitter. The feeder should wait until all four are ready.
2. Random forehand-backhand-body feed
A partner feeds unpredictably to the forehand, backhand, and body. Begin from a neutral paddle position. The goal is not power. Avoid pre-guessing, make the smallest useful response, and recover to neutral after every contact.
3. Zone-change drill
Start at the baseline, move through transition, and finish at the kitchen. Pause at each zone and show how the paddle becomes more compact and forward as reaction time decreases. In transition, require a split step or full stabilization before every feed.
4. Bias-and-release drill
Begin with a slight backhand bias. The feeder alternates between the body, backhand, and forehand hip. Keep the bias small enough to release to every location without a large recovery move. Then repeat with a slight forehand bias.
You can also reinforce the habit during cooperative dinks, volleys, or wall work by saying “center” each time the paddle returns in front. Remove the verbal cue once the recovery becomes automatic.
Drill standard: The repetition is incomplete until the paddle, base, and eyes are ready for the next ball.
READY at a Glance
- Recover the paddle in front.
- Leave working room between the hands and chest.
- Let the elbows, shoulders, and grip stay relaxed.
- Use a balanced base that can move in either direction.
- Move the paddle higher and farther forward as you approach the kitchen.
- Use a small bias rather than a full commitment.
- Get your eyes back to the opponent.
- Finish the recovery before the opponent hits.
Ready Position Questions Players Ask
The same principles apply in singles, but you must protect more court and recover through larger movements. Stay balanced enough to change direction, avoid an extreme paddle bias, and recover your body as well as the paddle before the opponent contacts the next ball.
Usually, but do not lift it so high that you expose the body or lose access to a low ball. Raise the starting position when the opponent is likely to attack above net height, then lower the paddle as the expected contact drops.
Not automatically. A light second hand can improve connection and shorten preparation for a two-handed backhand, especially against drives. It becomes a problem when it traps the paddle, crowds the chest, or delays a one-handed forehand release.
Time the split step or stabilization so your body is balanced as the opponent contacts the ball. If you are still drifting or landing after contact, the first response will usually be late or off balance.
The paddle may be pressed against the chest, held too far toward the forehand, or recovered too late. Leave working room in front of the torso and use a smaller bias so the paddle can defend the body without a large swing.
The body and paddle principles stay the same. Forehand and backhand responsibilities may mirror across the court, and doubles partners should communicate about middle coverage, but the paddle should still recover in front with only a small situational bias.
Ready Before the Next Ball
Ready position is something you recover, not something you pose for. Finish the rally prepared for the next ball, not admiring the last one.
Remember READY: Recover the paddle. Eyes on the hitter. Athletic base. Distance from the body. Yield to the likely ball.
Build the Rest of Your Ready Game
- Pickleball Stance — organize the feet and body for different types of contact.
- Pickleball Positioning — learn where you and your partner should stand.
- Footwork in Pickleball — improve movement, spacing, balance, split-step timing, and recovery.
- Pickleball Transition Zone — stabilize the body and paddle while moving through midcourt.
- Resetting in Pickleball — neutralize pressure with a compact, controlled reset.
- Pickleball Grip Pressure — reduce tension without losing paddle control.
- Faster Hands in Pickleball — build speed after improving the starting position.