Attack Zones in Pickleball: When to Speed Up vs Reset (Traffic Light)
There’s a moment every player hits where you realize you’re not losing points because you “missed”… you’re losing points because you attacked from the wrong height. You took a ball that was begging to be reset and tried to finish it. Or you got a gift at chest height and played it like a dink. That’s what attack zones in pickleball really solve: they give you a fast, repeatable way to choose the right shot without overthinking.
This guide breaks the court battle into four attack zones based on ball height (waist, chest, shoulder, head). For each zone, you’ll get the intention, drills, motions, and paddle angle guidance to make cleaner decisions and stop donating points.
We’ll also layer in the popular traffic light framework (red/yellow/green) as a simple risk filter, so you can translate what you already know into the four-zone system, and actually use it under pressure.
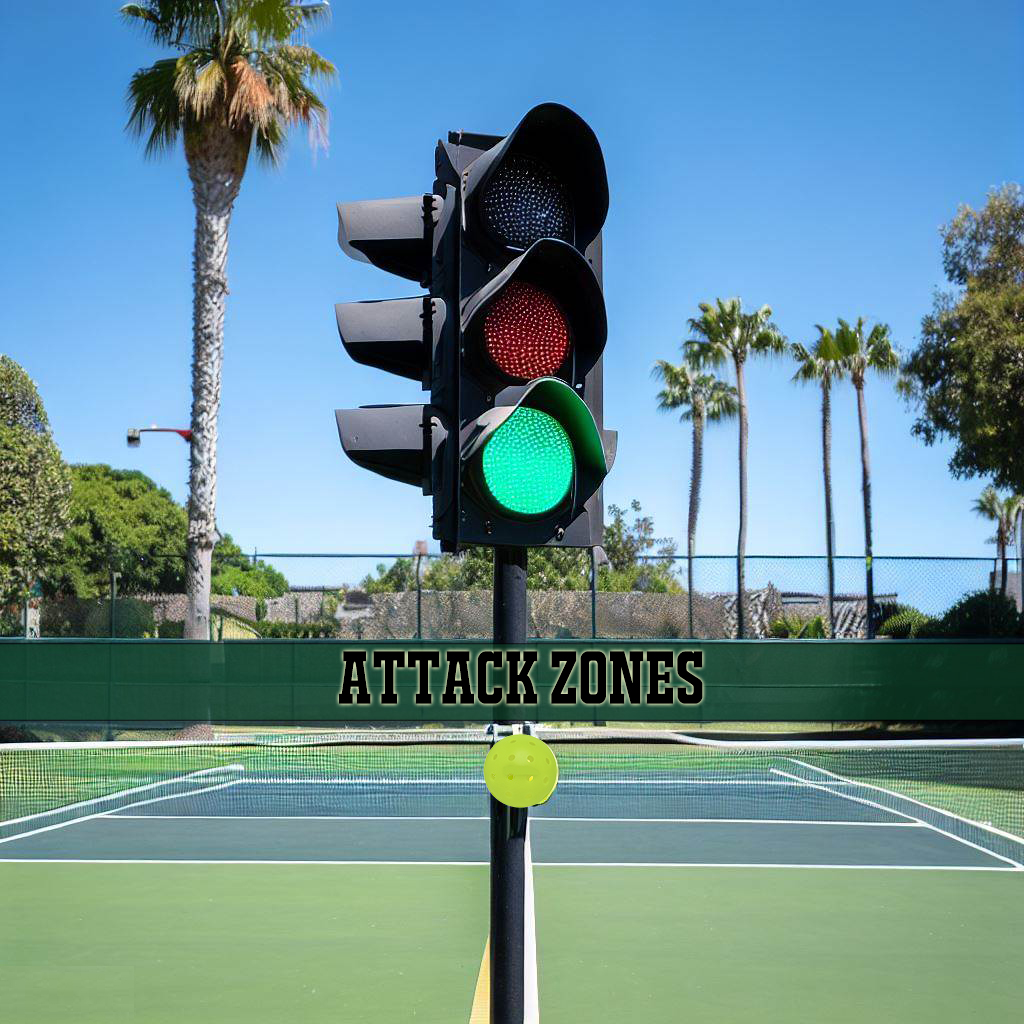
The Traffic Light Model (Red/Yellow/Green) and How It Maps to the Four Attack Zones
Many pickleball players use the traffic light framework to categorize when it’s smart to attack. Think of it like an upside down traffic light: red is danger (too low), yellow is caution (borderline), and green is go-time (attackable).
| Traffic Light Zone | Ball Height | What You’re Really “Allowed” to Do |
|---|---|---|
| Red | Below the knees | Reset / neutralize. Don’t try to force offense. |
| Yellow | Knees to waist | Conditional attack. Only go if the situation is clean. |
| Green | Waist to head | Attack window. You can drive, punch, volley, or smash. |
The four-zone system lives mostly inside the “green” window, but it adds precision. Instead of treating “waist to head” like one big blob, it breaks it into four distinct mechanics.
Attack Zones vs When to Attack: Height Is the First Filter, Not the Whole Decision
This article is about attack zones, a ball-height framework that tells you what you’re allowed to do without turning the rally into a donation. In other words, height is your permission filter: below the knees is almost never a real attack, while waist-and-up is where offense becomes practical.
But when to attack in pickleball is the bigger question, and it adds a second layer: timing and situation. Are you balanced? Are your opponents moving, stretched, or stuck in the transition zone? Do you have kitchen control? That’s the “should I go right now?” layer. If you want the full timing decision tree (attack vs reset, positional advantage, movement triggers), jump here: when to attack in pickleball.
Important: If the ball is below your waist, you’re not really in “attack zone” territory yet. That’s red/yellow territory. You can still be proactive, but the default is to reset and earn a better ball (more on that next).
Before You Attack: Handle the Red Zone (Below the Knees)
The red zone represents the area from your knees to your toes. Attacking a ball from this zone is a risky move, often leading to errors. Balls in this zone are too low for aggressive shots, making it easy to dump them into the net or launch them long.
Smart Strategy: When a ball is in your red zone, your goal should be to reset the rally by returning the ball to your opponent’s red zone. The objective is to neutralize the point rather than trying for a winner. Trying to lift a ball with loft or topspin from this position opens you up to a counterattack.
Red-zone rule: reset it, get the ball back low, and earn a better contact point. Then attack.
Yellow Zone Decision Checklist (Knees to Waist): When to Attack vs When to Reset
The yellow zone is tricky. It’s the middle ground where you can sometimes attack, but you can also hand your opponent an easy counter if you get greedy. Before you swing, run this quick checklist:
- Vision: Are you able to see the ball clearly? If lighting or conditions are poor, it may be better to reset.
- Energy Level: Are you fatigued? Decision making in this zone requires both physical and mental sharpness.
- Confidence: Do you feel at least 80% confident that your shot will clear the net and land in? If not, play conservatively.
- Position: If you’re more than two steps away from the ball, it’s usually safer to reset.
- Opponent: Is your opponent skilled at counterattacking? If so, reconsider your attack.
Smart Strategy: If you do attack in the yellow zone, expect the shot to have some upward trajectory (meaning your opponent can counter). Aim for their dominant shoulder or hip to make the block awkward. If you’re unsure, hit a soft reset into their red zone and wait for a cleaner ball.
Now, once the ball is waist height or higher, we’re officially inside the four attack zones.
🟠 Zone 1: Waist-Height
Intention:
The primary intention in this zone is control. With the ball at waist-height, it’s easy to get tempted and over-swing. The goal is to create a ball your opponent can’t comfortably counter, without donating an unforced error.
Drills:
- Topspin Drills: Practice hitting balls with varying degrees of topspin to understand the swing path and paddle angle required.
- Net Clearance Drills: Aim to clear the net by a consistent margin to reduce errors.
Motions:
Focus on a forward and upward swing motion, ensuring the paddle face is slightly open to impart topspin.
Paddle Angles:
For heavy topspin, angle the paddle at about 45°. For pure topspin, angle it around 85°. If you want a full breakdown of how paddle face changes ball shape and margin, go deeper here: paddle angle in pickleball.
🟡 Zone 2: Chest-Height
Intention:
This zone offers versatility. Depending on the ball’s speed and trajectory, you can block, punch, or swing through the ball. Chest height is where you can pressure your opponent without having to “manufacture” height or lift.
Drills:
- Reaction Drills: Improve reflexes by having a partner hit unpredictable shots, forcing you to react quickly.
- Swing Through Drills: Practice swinging through the ball with varying speeds to understand the required force.
Motions:
The motion can be a simple block, a punch forward, or a full swing, depending on the incoming ball’s characteristics.
Paddle Angles:
Keep the paddle relatively neutral, making minor adjustments based on the desired shot outcome.
🟢 Zone 3: Shoulder-Height
Intention:
While the ball appears high, it aligns with the shoulder joint, making straight-down shots awkward. The aim is to connect early and attack with a more sideways motion, keeping the ball heavy and directional without overreaching.
Drills:
- Cross-Body Drills: Practice hitting the ball across your body to perfect the sideways motion.
- Scorpion Shot Drills: Work on bending the knees, dropping the shoulder, and executing the scorpion shot.
Motions:
Emphasize a sideways swing, imagining the paddle face moving across the body rather than downward.
Paddle Angles:
Keep the paddle face slightly open to ensure the ball clears the net while maintaining direction.
⚫️ Zone 4: Head-Height
Intention:
This is the prime zone for aggressive shots. With the ball above the shoulder, you can swing down and smash. The only trap is getting so excited you overhit. The intention is still controlled offense, finish the point without gifting one.
Drills:
- Smash Drills: Practice the downward motion to perfect the smash shot.
- Drop Shot Drills: For advanced players, work on faking a smash and executing a drop shot.
Motions:
With ample room to swing, emphasize a downward motion, ensuring the paddle face is angled to direct the ball into the opponent’s court.
Paddle Angles:
For smashes, the paddle should be angled steeply to direct the ball downward. For drop shots, a gentler angle is required to soften the shot.
How to Use the Attack Zones (A Simple Drill That Forces Better Decisions)
To become a stronger attacker, you have to get fast at recognizing the ball’s height and making a decision before your brain starts negotiating with your ego. Here’s a simple drill that trains the exact skill the zones are designed for: reading, choosing, and executing.
The Reset Drill: One player stands in the middle of the transition zone (between the baseline and kitchen) and feeds speed-up shots. The other player focuses on reading the ball’s height and responding according to the zones: resetting from the red zone, cautiously attacking from the yellow zone, and going for it from the green zone.
If you want to build a broader decision system (beyond just height), this pairs well with: pickleball shot selection.
FAQs About Pickleball Attack Zones
The best “go” window is when the ball is waist height to head height (the green zone). Inside that window, your best results usually come from chest and head height opportunities because you can apply pressure without lifting the ball.
In the red zone (below the knees), avoid attacking. The smart move is to reset the ball by returning it to your opponent’s red zone, neutralizing the point and buying time to earn a better ball to attack.
Better shot selection comes from two things: a simple framework and reps under a little pressure. Use the zones to simplify decisions (height decides intent), then train it with drills like the Reset Drill until your reactions become automatic. If you want the bigger picture (patterns, point context, opponent tendencies) pair this with: pickleball shot selection.
Making Smarter Decisions with the Attack Zones in Pickleball
Most points aren’t lost because your technique is terrible. They’re lost because you attacked from the wrong height, at the wrong time, with the wrong expectation. The attack zones fix that by giving you a clean rule: earn the right to attack, then attack with control when the ball is truly in your window.
Master the four zones, respect the red zone, use the yellow checklist, and train the decision with one simple drill. That’s how you stop “playing hard” and start playing smarter.